
Last updated November 18, 2026
 Hardwood
 Engineered hardwood
 Luxury vinyl plank
 Laminate
 Porcelain tile
 Carpet
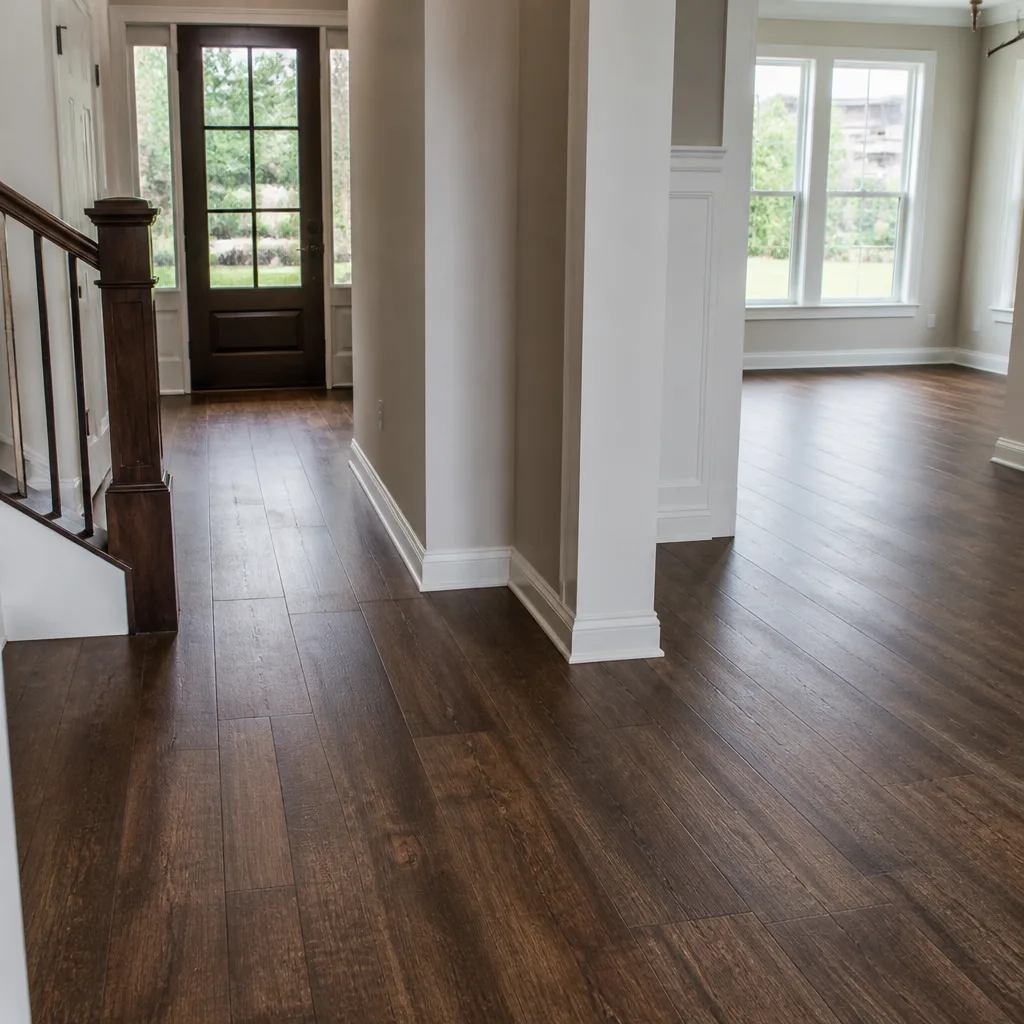 Shaw
 Mohawk
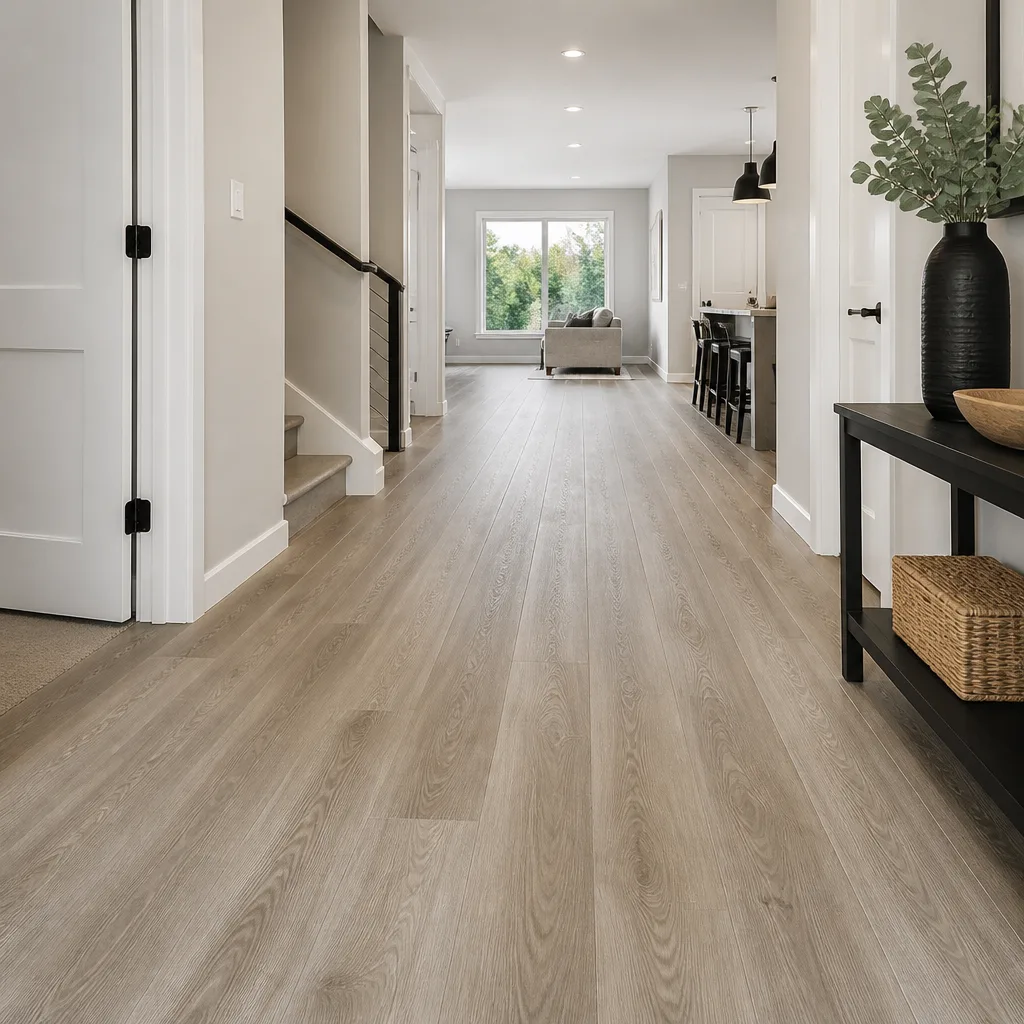 COREtec
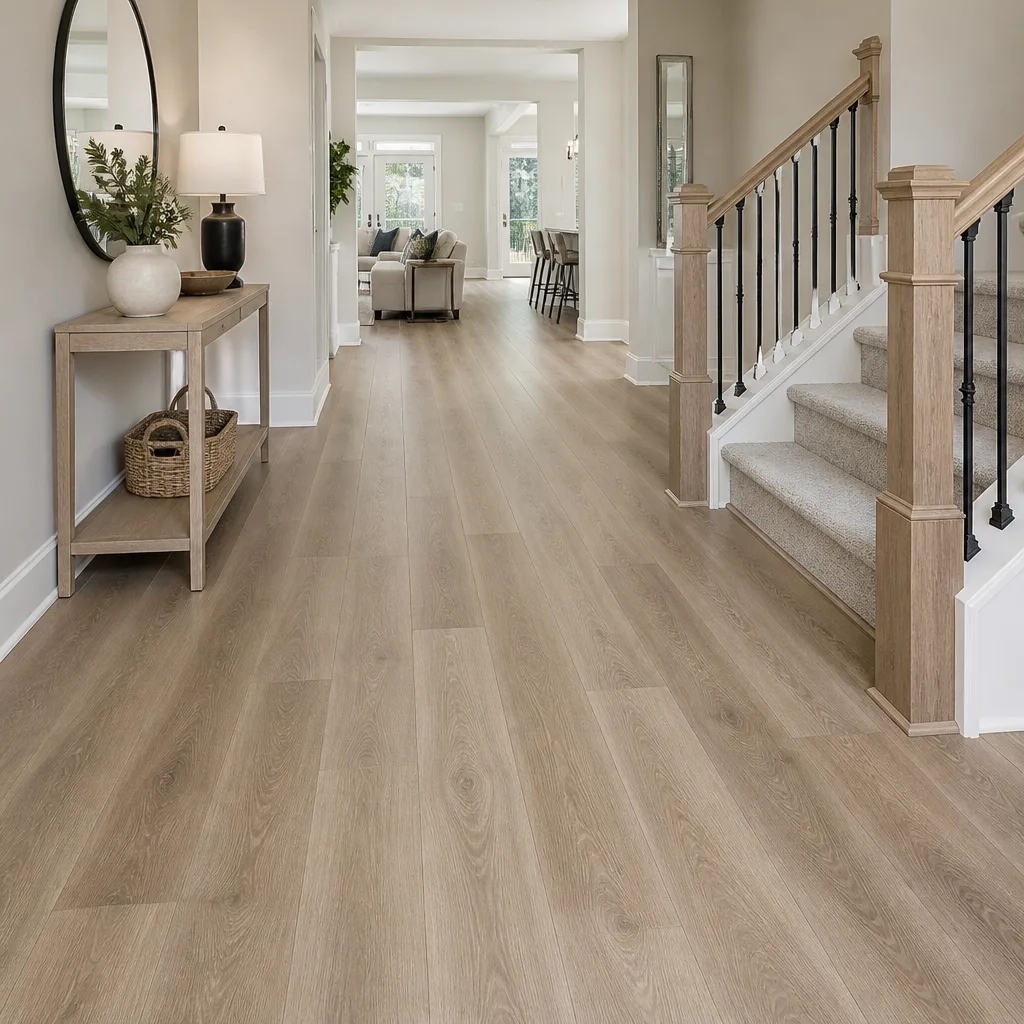 Pergo
Free in-home measure and written estimate: Shaw, Mohawk, COREtec and Pergo lines compared on your own rooms, with carpet, tile, vinyl plank, laminate and hardwood laid out side by side
Get your free estimateHow to Prepare Your Home for a Flooring Installation in Henderson
Most preparation guides tell you to move the furniture and clear the closets. That’s the easy part. The preparation that actually decides whether your new floor performs the way it should starts 48 to 72 hours before anyone knocks on your door, and it has almost nothing to do with the room being empty. In Henderson, the air in your home is the variable that matters most. A house that’s been shut up with the HVAC off for a week can hand an installer a subfloor that’s pulled moisture out of the air, and that can put a manufacturer’s requirements out of reach on day one. This guide covers the climate, the acclimation schedules, the subfloor checks you can run yourself, and the day-of logistics that most homeowners never hear about until it’s too late.
Quick Answer
To prepare for a flooring installation in Henderson, keep your home at a normal living temperature (68 – 75°F) with the HVAC running for at least 48 hours before the crew arrives, let your flooring acclimate by product type (hardwood 3 – 5 days, luxury vinyl 24 hours, tile none), and confirm your subfloor is dry and sound. Clear the room, but treat temperature and moisture control as the real preparation. The written estimate from your installer sets the final schedule and product requirements.
Styles & brands we work with
- Hardwood
- Engineered hardwood
- Luxury vinyl plank
- Laminate
- Porcelain tile
- Carpet
- Shaw
- Mohawk
- COREtec
- Pergo
Table of Contents
- Why Your HVAC Matters More Than Moving Furniture
- Material Acclimation by Product Type
- Staging the Delivery Correctly
- Subfloor Inspection Checklist You Can Run Yourself
- Baseboards and Transitions: Remove Them or Leave Them?
- Pets, Kids, and the Cure Window
- What Happens on Installation Day
- Common Mistakes to Avoid
Why Your HVAC Matters More Than Moving Furniture
Flooring products are manufactured and tested against a stable indoor environment. In Henderson, that environment is not something you can take for granted. Summer highs push well past 100°F, and the stretch from roughly June through September brings the monsoon pattern: sudden humidity spikes, thunderstorms, and days when the air feels nothing like the desert. A home with the AC off during a monsoon week becomes a moisture reservoir. Wood and wood-based products absorb that moisture, and if the floor goes down before the home stabilizes, you can start the installation with material that’s already the wrong size.
The fix is simple, and it’s the single most important prep step in this guide: run your HVAC like you normally would, and keep the house between 68°F and 75°F for at least 48 hours before the crew arrives. Not a week of blasting cold air before they show up, and not a house that’s been sitting empty and sealed. Stable is the goal. Think of it as giving the material the same conditions it will live in for the next fifteen years.
What happens if you don’t? Two things. First, acclimation specs assume a normal indoor climate. If your home is 95°F and 20% relative humidity when the boxes arrive, the material never gets the environment it was scheduled to acclimate in. Second, a dry, hot house hides moisture in the subfloor that shows up later when the season turns. The installation might look fine on day one and develop problems weeks or months down the line, and by then the responsibility is murky.
If you’re installing over a concrete slab, which is common in Henderson’s newer neighborhoods, pay extra attention. Slabs hold moisture differently than wood subfloors do. Your installer will check the slab before any product goes down, and the moisture results they get determine which underlayment or adhesive system you need. You can help by keeping the house at living temperature so the readings reflect real conditions rather than a house that’s been cooking.
Material Acclimation by Product Type
Acclimation means letting the flooring sit in the room where it will be installed so it reaches equilibrium with the home’s temperature and humidity. Every product type has its own schedule, and getting this wrong is one of the most common reasons a floor underperforms. Here’s how the three main categories work.
Hardwood
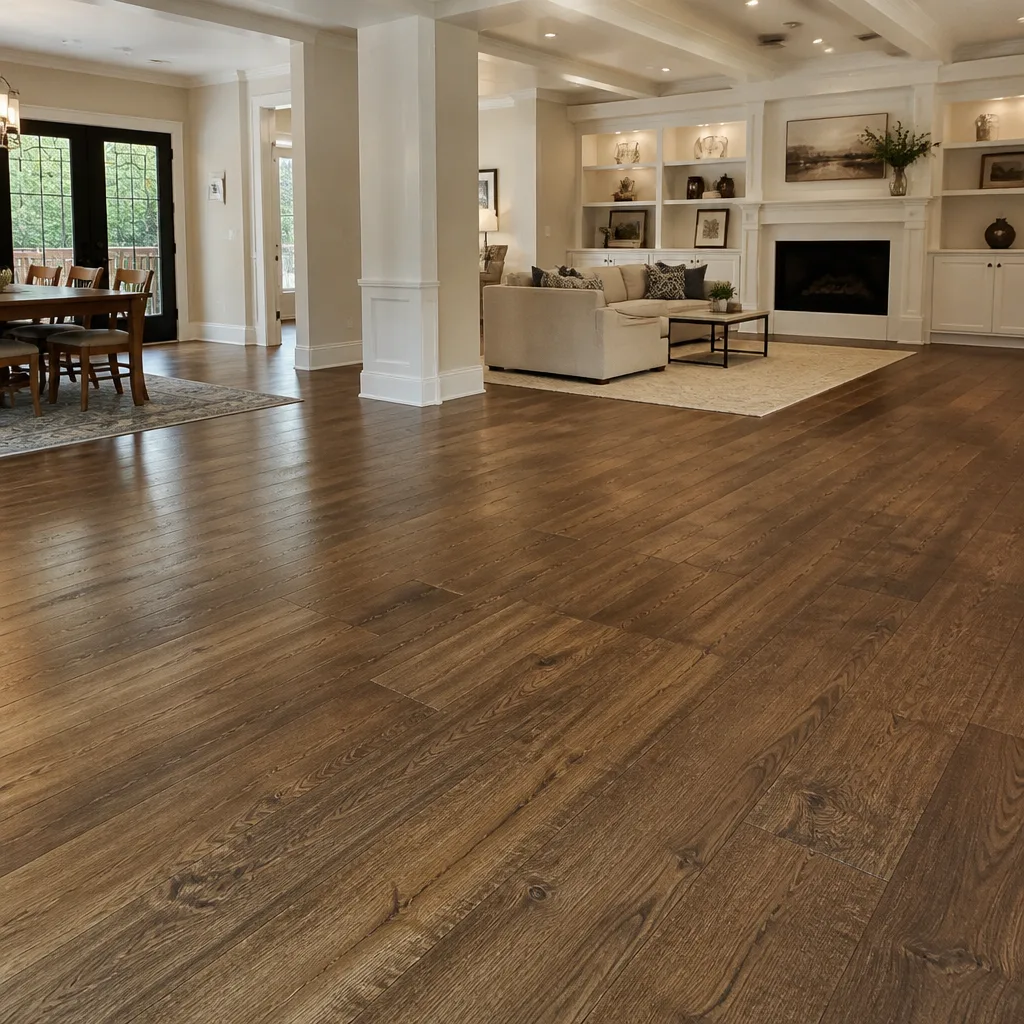
Solid and engineered hardwood need the most time. Plan on 3 to 5 days in the room where the floor will live, with the HVAC running normally. Stack the boxes so air can move between them, and don’t leave them against exterior walls where temperature swings. Hardwood is the most moisture-sensitive category we install, and in a Henderson home with big seasonal swings, it’s worth giving it the extra day. If your hardwood is going down over a slab, your installer may specify additional moisture testing first.
Luxury Vinyl Plank and Tile (LVP and LVT)
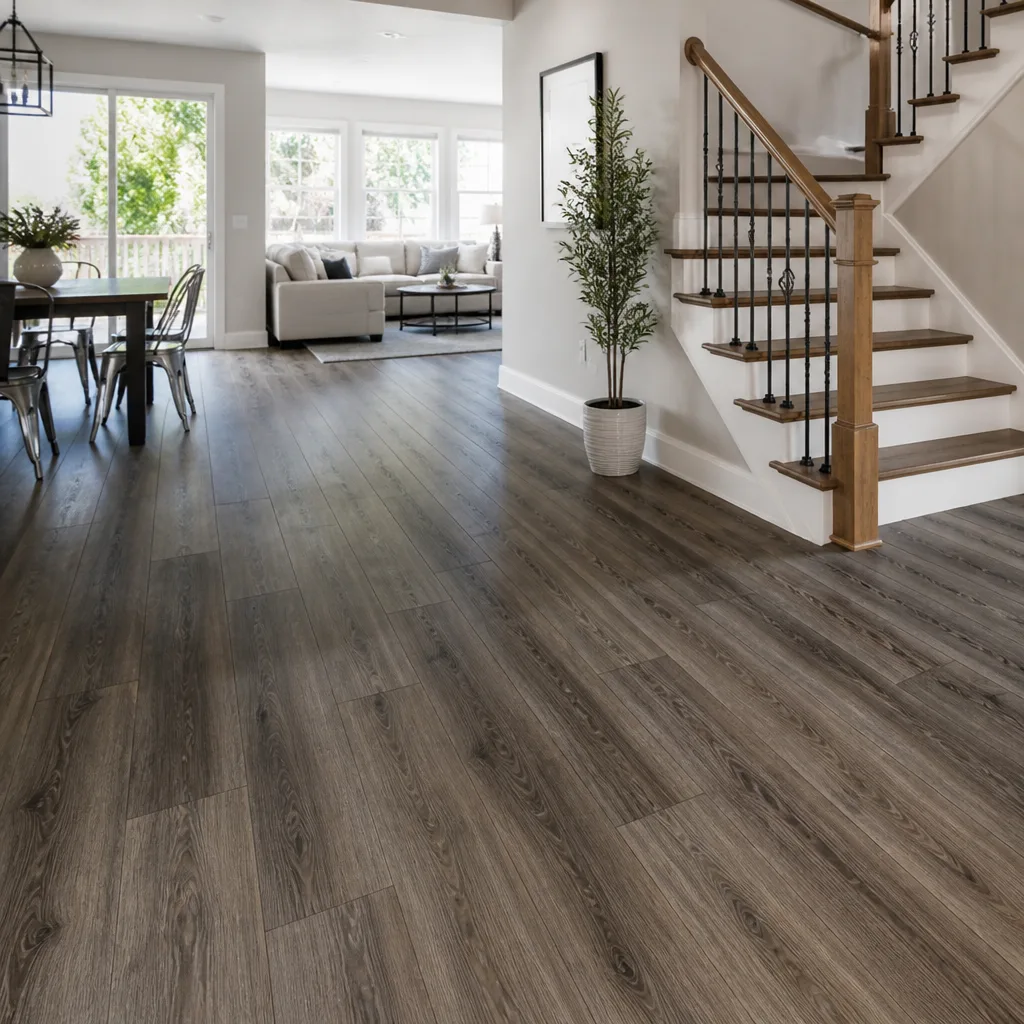
Luxury vinyl products like COREtec and Karndean need about 24 hours in the room. They’re dimensionally stable and water-resistant, but they still benefit from a stable indoor climate, and the room needs to be at living temperature for the full acclimation window. A common mistake is to leave LVP in a garage or a truck for a few days and then install it in a hot living room. That defeats the purpose.
Tile
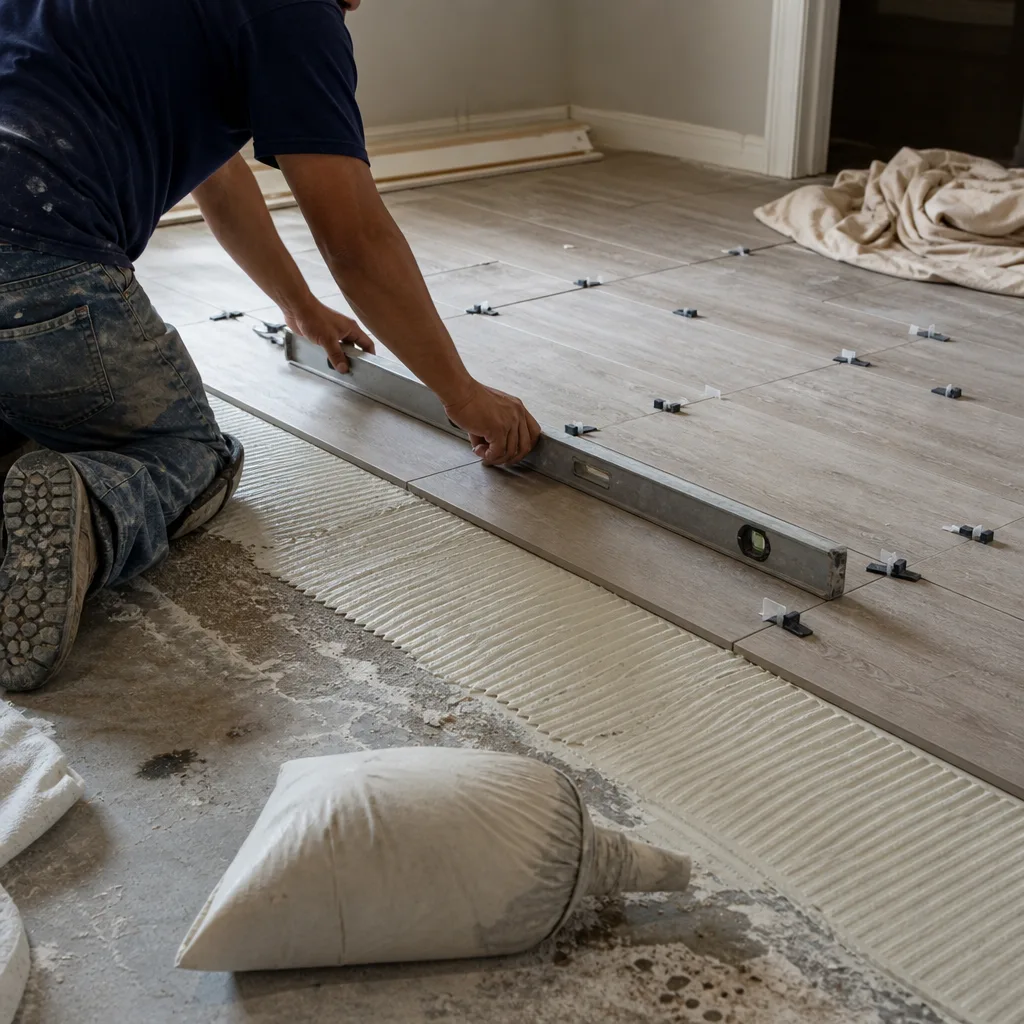
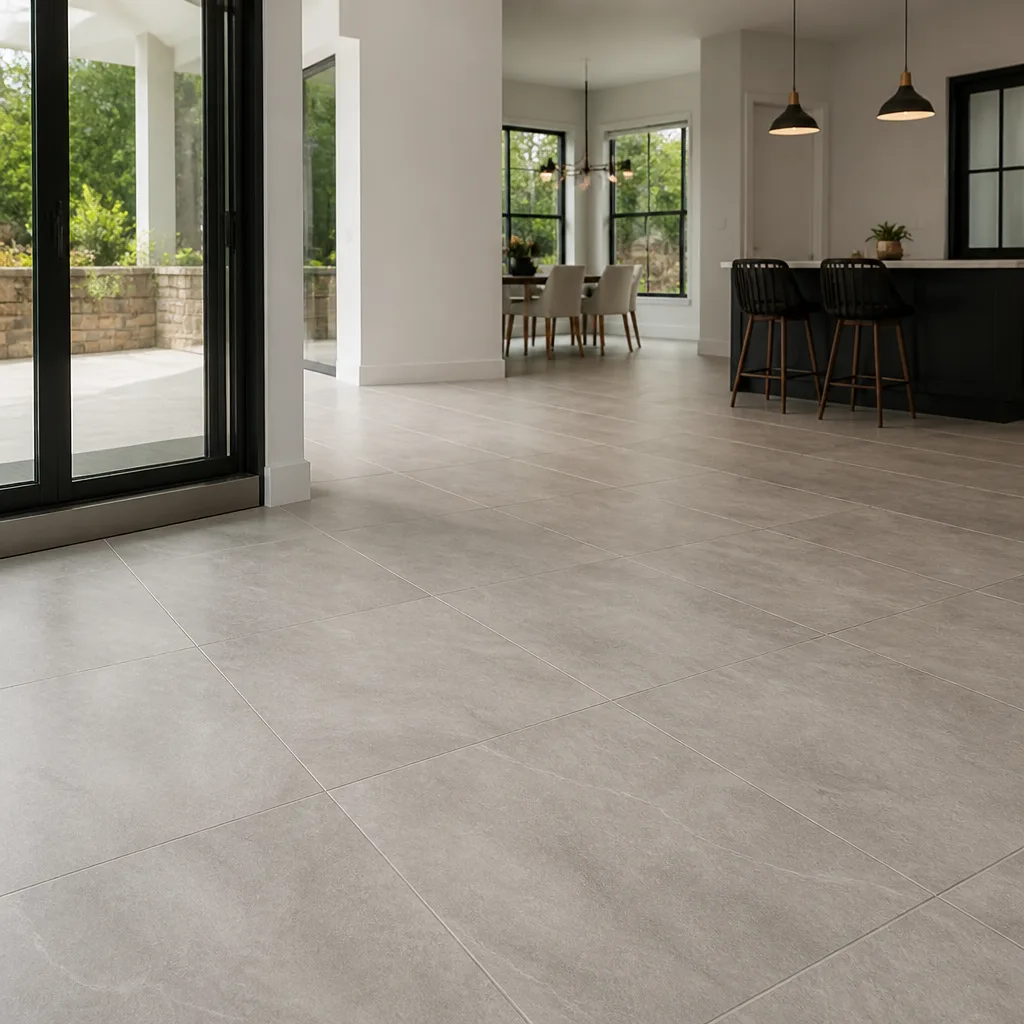
Ceramic and porcelain tile need no acclimation. Tile doesn’t expand or contract with humidity the way wood and vinyl do, so you can stage it in the room and install. What tile does need is a flat, sound, dry subfloor and the right setting materials for the substrate. That’s a conversation for the estimate visit, not a scheduling detail.
Quick Reference
| Product | Acclimation Time | HVAC Required |
|---|---|---|
| Hardwood (solid or engineered) | 3 – 5 days in the room | Yes, 68 – 75°F |
| Luxury vinyl plank/tile (COREtec, Karndean) | ~24 hours in the room | Yes, 68 – 75°F |
| Laminate (Pergo, Mannington) | 24 – 48 hours in the room | Yes, 68 – 75°F |
| Ceramic/porcelain tile | None | For the setting materials |
| Carpet | Let it relax overnight unrolled | Yes, 68 – 75°F |
These are typical figures. Your product’s installation instructions and your written estimate set the exact requirements, and we’ll confirm them when we measure. A premium line and a budget line within the same category can have slightly different specs, so always check the box or the paperwork that comes with your material.
Staging the Delivery Correctly
A flooring delivery is not like a furniture delivery. The boxes need to come inside, get stacked where they’ll acclimatize, and stay there. Getting this right takes some planning, because a pallet of hardwood is heavy and a long hallway is not the place to store it for three days. Here’s the sequence that works in most Henderson homes.
- Pick the delivery spot before the truck arrives. The material should go into the room where it will be installed whenever possible. If the room is too small, choose an adjacent climate-controlled space, never the garage.
- Clear a staging zone. Boxes need floor space, not just a corner. Stack them no more than two or three high and leave gaps so air can move.
- Keep the HVAC running from delivery day onward. The acclimation clock starts when the material lands inside, so the house should already be at living temperature.
- Check the delivery for damage before signing. Open a few boxes and look for crushed edges, wet cardboard, or visible moisture. If something looks wrong, note it before the driver leaves.
- Don’t move the boxes around. Once staged, leave them. Moving stacks from room to room resets the acclimation process.
One Henderson-specific wrinkle: if your delivery falls during a monsoon week, keep an eye on cardboard. Boxes that come in during a heavy rain can pick up dampness, and while most luxury vinyl and tile are unfazed, hardwood and laminate should be inspected. If cardboard feels soft or damp, tell your installer before the material is installed.
For customers choosing between COREtec for high-traffic areas and Karndean where you want a handcrafted wood look, or considering Pergo and Mannington for laminate, delivery and acclimation work the same way. The schedule is short, but the staging still matters. If your installation is part of a broader project and you’re also planning carpet installation, stage the carpet separately and let it relax overnight unrolled before the crew arrives.
Subfloor Inspection Checklist You Can Run Yourself
Your installer will inspect the subfloor thoroughly before any product goes down. You can run a simple version of that inspection first, and it helps to know what to look for. If you find something concerning, flag it when you book, and we’ll check it at the estimate visit.
The Squeak Test
Walk slowly across the room, heel-down, and listen. Squeaks usually point to loose subfloor panels or gaps around fasteners. In older Henderson homes, especially those built in the 1980s and 1990s, some squeaking is expected, and it can often be corrected during installation. Mark the spots with painter’s tape so the crew can find them. A floor that squeaks before installation will usually squeak after, so it’s worth addressing at the start.
Moisture Probe Locations
You don’t need professional equipment to do a visual and tactile check. Look for dark patches on concrete slabs, soft spots or swelling at seams on wood subfloors, and any patch that feels cool or clammy to the touch. Pay particular attention to:
- Perimeter areas near exterior walls, where condensation tends to collect
- Bathrooms and laundry rooms, where small leaks go unnoticed
- Areas near sliding doors and any exterior door
- Slab-on-grade sections in newer construction, which hold moisture differently from wood subfloors
If anything looks damp or discolored, say so before installation day. A moisture problem hidden under new flooring will keep growing, and no product handles it well.
Visual Crack Assessment
Hairline cracks in a concrete slab are common and usually not a problem. Wide cracks, cracks with displacement (one side higher than the other), or cracks that run along the entire slab are worth a professional opinion. Your installer will decide whether the slab needs patching, an underlayment, or a moisture barrier. Note the location and width of any cracks, and take a photo. It speeds up the conversation.
Baseboards and Transitions: Remove Them or Leave Them?
This section is where many homeowners save money without realizing it. The question of whether to remove baseboards and existing transitions before installation depends on the product, the room, and how much finish work you want to pay for.
When to Remove Baseboards
If you’re installing tile or hardwood and you want a clean finish line, removing baseboards is often the better choice. Tile and solid hardwood add thickness, and baseboards reinstalled over the new floor can sometimes hide expansion gaps in a way that looks better than quarter-round trim. If your baseboards are already in rough shape, this is an opportunity to replace them at the same time.
When to Leave Them
For carpet and some luxury vinyl installations, baseboards can often stay in place, and the installer will tuck or trim as needed. This saves time and money on labor, but the finish line can look different. It also means the installer is working around your trim, which is slower. If you’re keeping baseboards, clear the room thoroughly and expect the crew to protect the trim with tape or paper.
The Cost Question
The honest answer is that removing baseboards yourself saves labor cost, but only if you do it carefully. Damaged trim has to be replaced, and reinstalling it is its own job. If you’re not comfortable pulling and resetting trim, leave it to your installer and ask about the cost at the estimate. The written estimate is where this gets settled.
Transitions Between Rooms
Think about where your new floor meets existing flooring. Doorway transitions, thresholds at exterior doors, and the seam where a hard floor meets carpet all need a plan. If you’re matching new tile flooring installation to an adjacent room’s hardwood, plan the transition height and material before installation. Ask about transition strips and reducers during the estimate visit so they’re on the order rather than a surprise.
Pets, Kids, and the Cure Window
Installation day disrupts a household, and the days after are where a lot of questions come up. The main ones: how long before the floor is walkable, and when can pets and kids be back on it?
Adhesive Cure Windows
Carpet and some tile installations use adhesives that need time to cure. Cure windows vary by product, and the installation instructions and written estimate set them. In general, you should plan for the room to be off-limits for a period after installation rather than immediately walkable. Glue-down luxury vinyl is similar. Click-together products, including many COREtec and Pergo lines, don’t involve wet adhesive and are usually walkable sooner. Ask your installer for the specific window before the crew leaves.
Off-Gassing Timelines by Product
New flooring can have an odor, and the intensity varies by product type and by the adhesive or underlayment. Carpet and adhesives typically have the strongest odor, which fades over a few days with ventilation. Hardwood finishes also off-gas during the first days after refinishing. Tile installed with thinset has a milder smell that dissipates quickly. Ventilate the home well during and after installation, especially in Henderson where the house may be closed up for the AC. Open windows on milder mornings and let the HVAC circulate air. Avoid making health claims; if a family member has a known sensitivity, discuss it with your installer before choosing products.
When It’s Actually Safe to Walk on New Floors
Here’s a rough sequence to work from, and your installer’s instructions override it:
- Tile: stay off the floor until the thinset or grout is set per the product’s instructions. Light traffic typically resumes after the initial set.
- Glue-down vinyl and carpet: wait out the adhesive cure window the installer gives you before replacing furniture or allowing heavy traffic.
- Click LVP and laminate: often walkable sooner, but still let the room settle. Keep heavy furniture off for a short period to avoid pinning the floor before it’s fully relaxed.
- Refinished hardwood: no traffic until the finish has cured, which is longer than most people expect. Ask for the exact window.
Pets and Kids
Plan for a room that’s off-limits, and put a barrier across the doorway. Pets should stay off new floors during the cure window, and the same goes for heavy foot traffic. If you have multiple pets, consider whether a few days of boarding or a relative’s house is easier than managing the chaos. For kids, brief them the day before so they know which rooms are off-limits and where their things are. It sounds small. It saves arguments.
What Happens on Installation Day
Knowing the sequence makes the day calmer for everyone. This is the typical flow.
- The crew arrives and walks the job. They check the subfloor, confirm the material is staged and acclimated, and flag anything that needs to change.
- They protect what stays. Furniture you’ve left in place, door casings, and adjacent flooring get protected.
- Subfloor prep happens first. Patching, leveling, moisture barrier, or panel repair, depending on the assessment.
- Installation proceeds room by room. Larger rooms are usually done in sections. Your crew will tell you which areas are affected.
- Trim and transitions go in last. Baseboards, quarter-round, and doorway transitions finish the edges.
- Cleanup and a walk-through. The crew removes debris and walks the finished work with you.
Have a plan for the day. Keep a clear path to the front door and a parking spot for the crew’s vehicle. If you have pets, put them in a closed room away from the work. And keep your written estimate handy in case a question comes up about scope, product, or the schedule for the next phase.
Common Mistakes to Avoid
- Leaving the HVAC off until the day before. A day isn’t enough for most products, and a hot, dry Henderson house can leave material under-acclimated. Run the system all week.
- Storing flooring in the garage. Garages in Henderson swing hard between hot days and cool nights, and the humidity difference is enough to throw off acclimation. Stage inside.
- Clearing the room but leaving the staging area blocked. Boxes need air movement and access. Cramming them into a hallway or against a wall slows the job and can damage edges.
- Skipping the subfloor moisture check during monsoon season. A slab or subfloor that’s been wet has to be dry before installation. Flag any dampness before the crew starts, not after.
- Removing baseboards without planning for reinstalling them. Pulling trim is the easy half. Resetting it takes finish nails, caulk, and paint. Decide the whole job before you start.
- Walking on new floors during the cure window. This is the fastest way to void the product requirements and cause a problem. Follow the installer’s timeline.
- Not discussing transitions with your installer. Doorways, thresholds, and seams all need a plan. Ask at the estimate so the right pieces are ordered.
See the difference
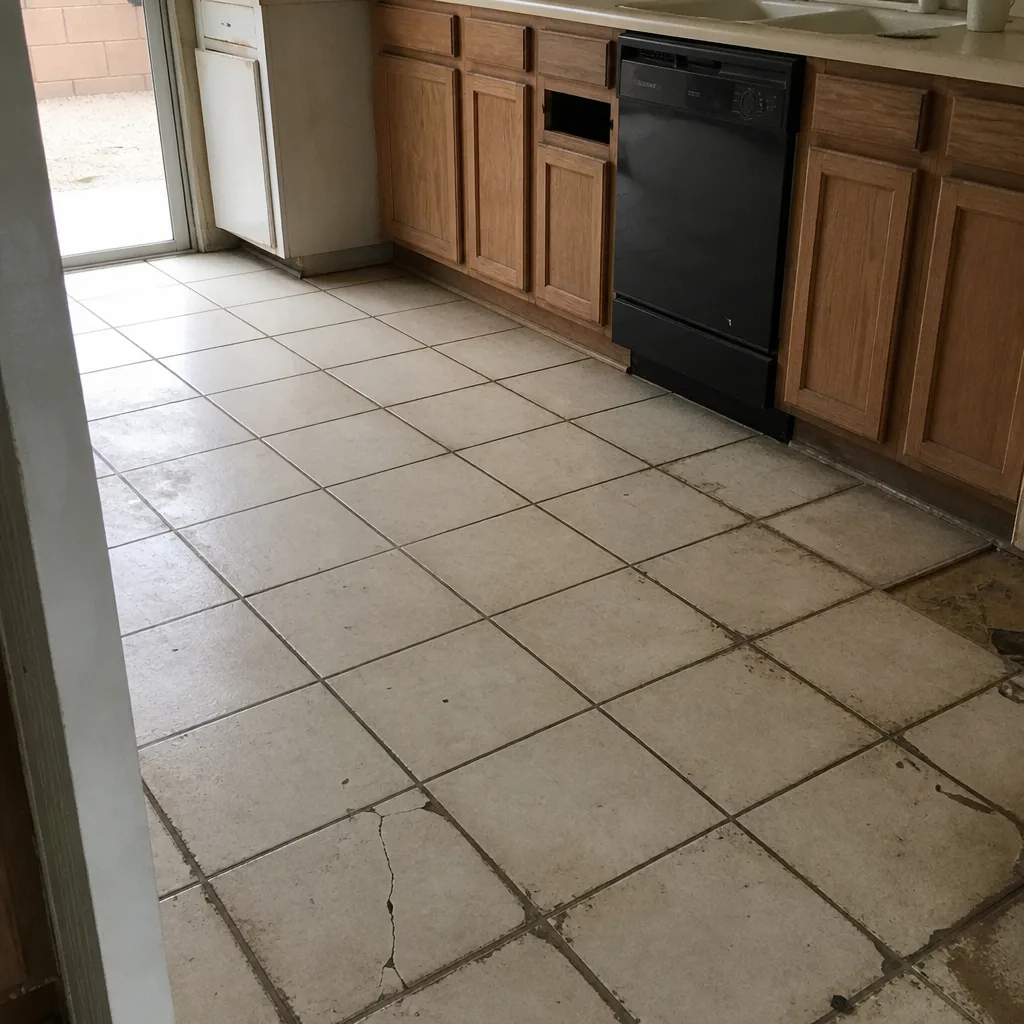 Before
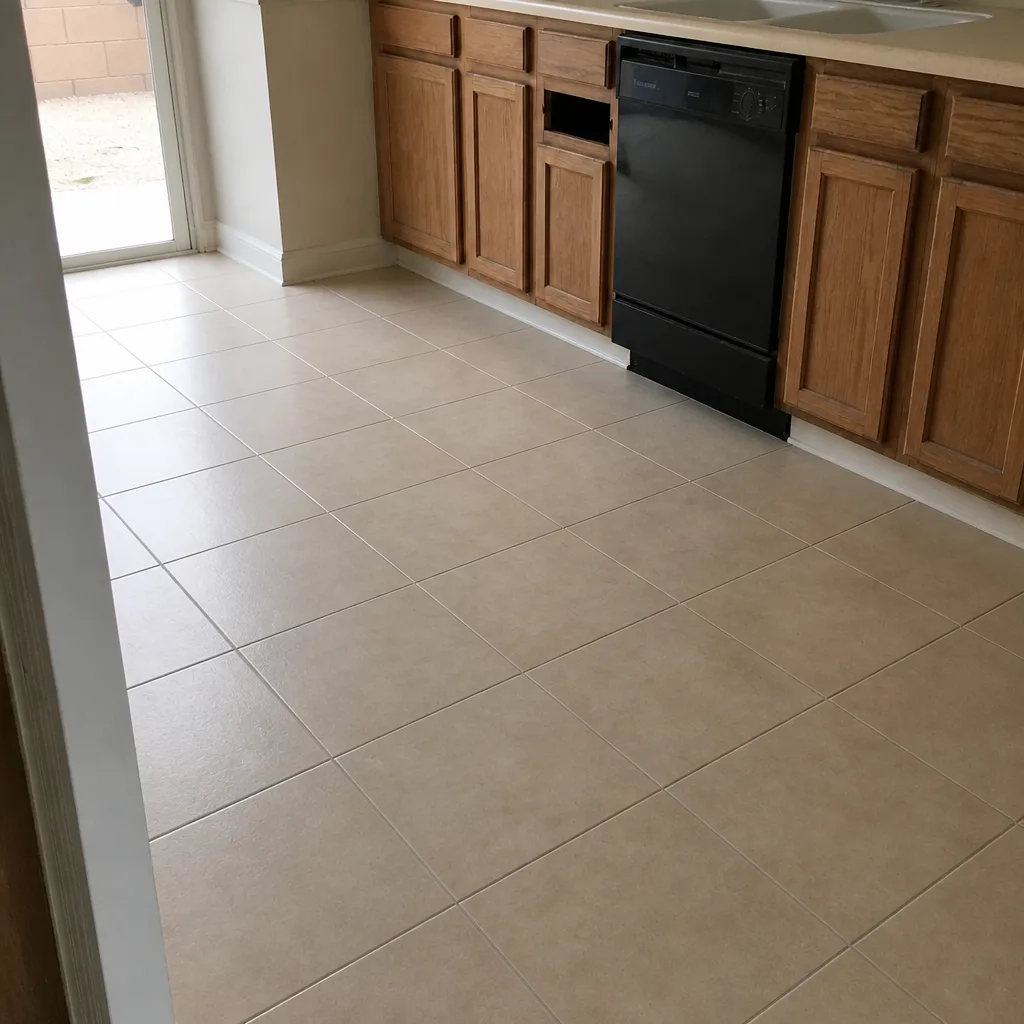 After
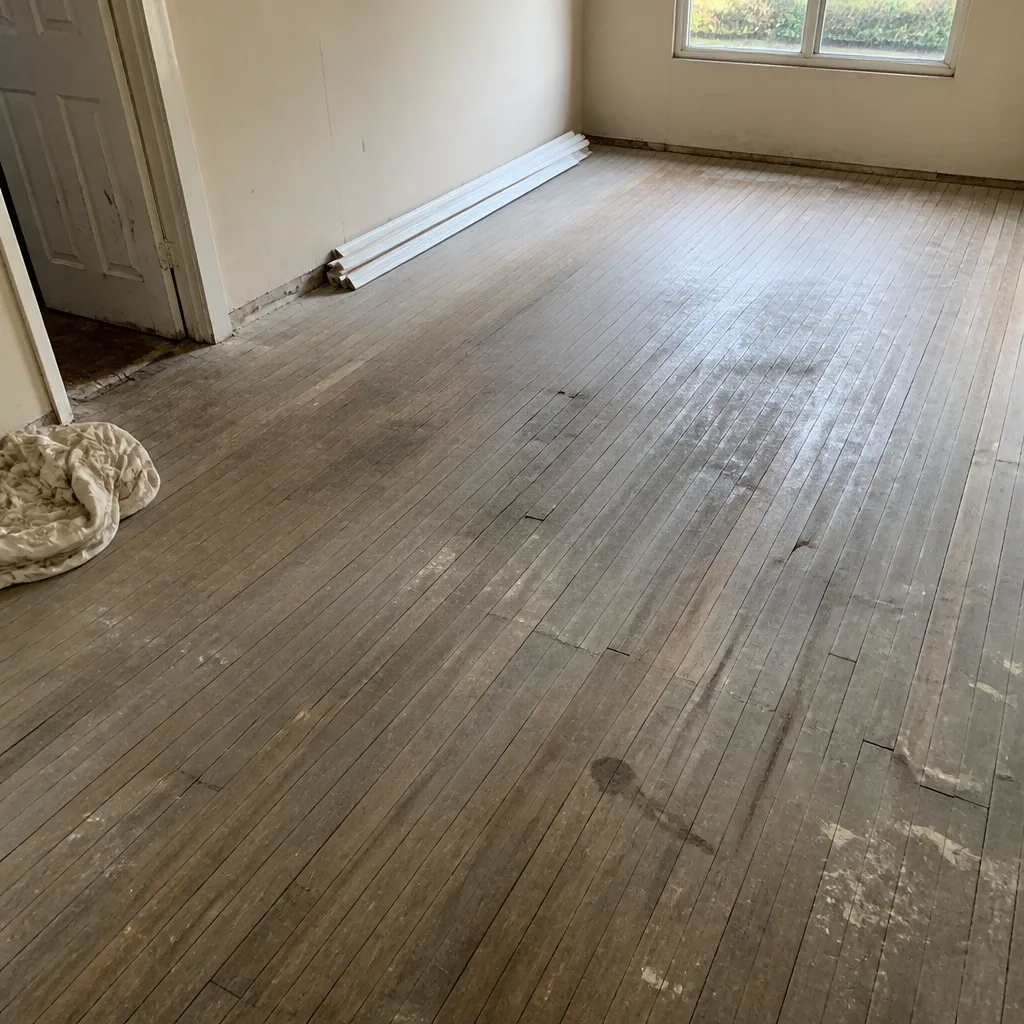 Before
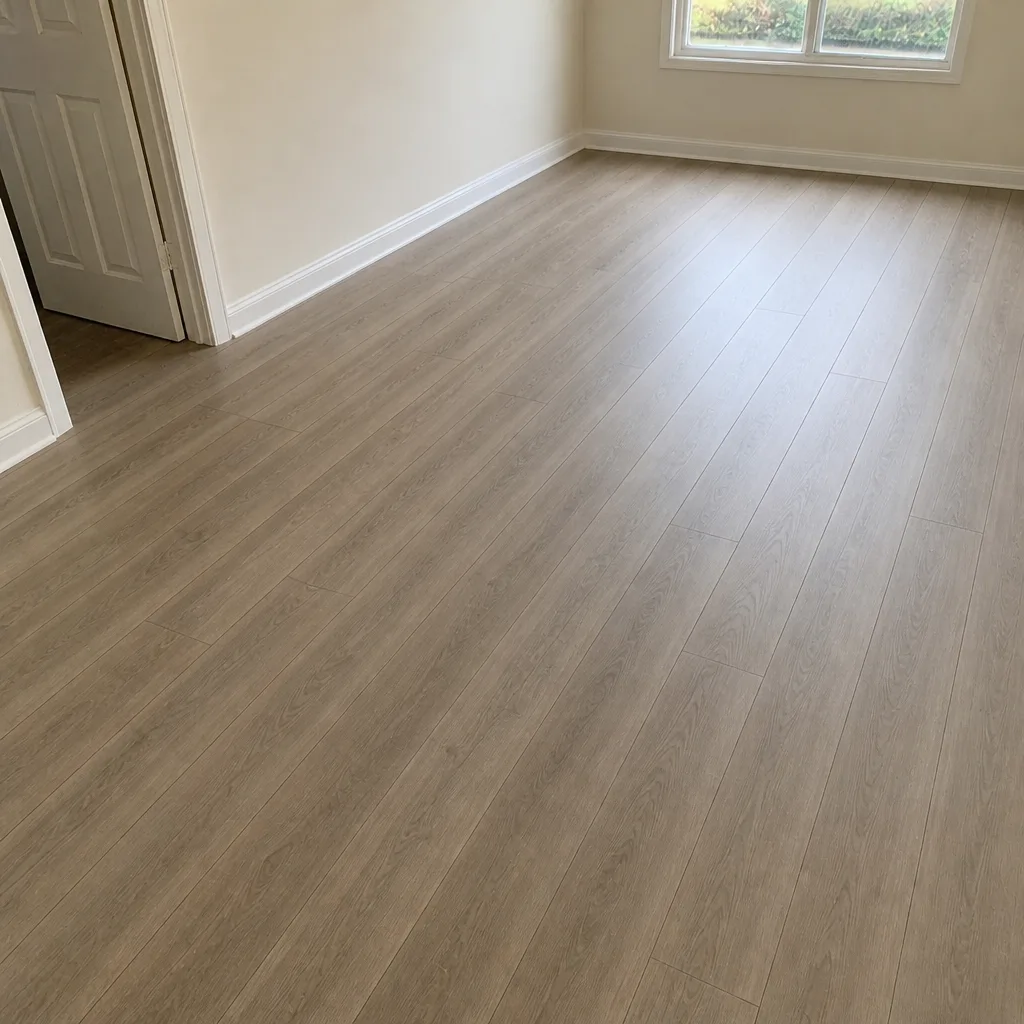 After
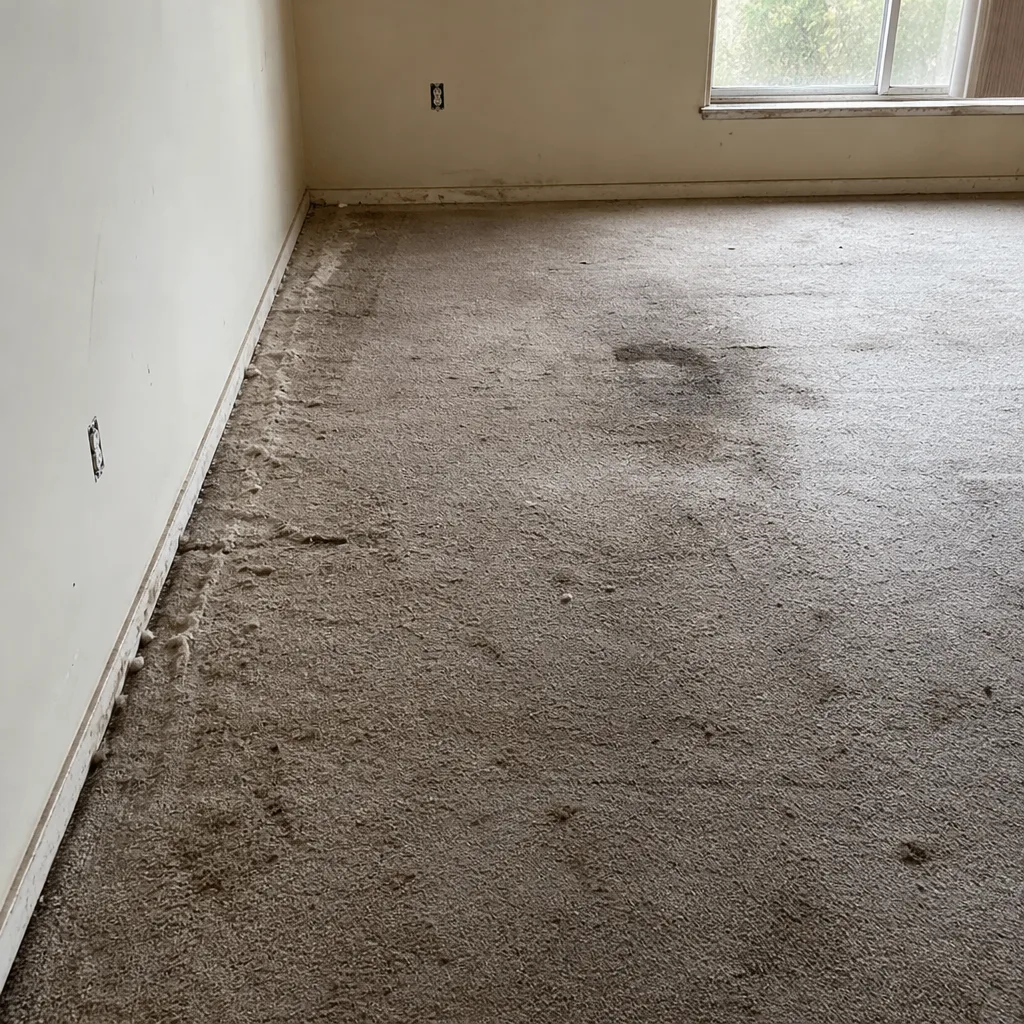 Before
 After
When to Call a Professional
Most of this guide is work you can do yourself: clearing rooms, running the HVAC, checking for squeaks, and planning the day. But some jobs need a trained pair of hands. If your home is older and the subfloor has soft spots, if the slab shows wide or displaced cracks, or if you’re installing hardwood and the wood needs a moisture and condition assessment, call us rather than guessing. Hardwood refinishing in particular isn’t a DIY job. Abrasive selection, stain matching, and finish chemistry all require experience, and a poor finish job is expensive to correct. The same goes for any tile installation over a slab where moisture or flatness is uncertain. The products themselves matter too, and choosing between a budget-friendly and a premium tier within a brand like COREtec or Mannington is easier with someone who knows how each line performs in a room. Flooring Installation Henderson offers free estimates in Henderson. Call (888) 721-9818 to schedule yours, or explore our flooring installation Henderson services to see what we cover. Our technicians have up to 9 years of experience, and we handle carpet, tile, hardwood, and refinishing, so the same team can look at a whole home rather than one room.
Frequently Asked Questions
Hardwood needs 3 to 5 days in the room, luxury vinyl needs about 24 hours, laminate typically needs 24 to 48 hours, and tile needs none. All of these assume your HVAC is running and the home is at 68 – 75°F, which is why the temperature is the first thing to get right. Your written estimate and the product instructions set the exact figures, so confirm at the visit. Call (888) 721-9818 for an exact quote, and estimates are free.
Yes, and setting it to a comfortable living temperature is exactly right. Henderson summers are severe, and a home that’s been shut up with the HVAC off can hand your installer a subfloor that’s absorbed moisture during a monsoon week. Run the system normally for at least 48 hours before the crew arrives, and keep it running through the installation. The schedule is set at the estimate visit, so ask then if you have timing questions.
It depends on the product and how much finish work you want to pay for. Tile and solid hardwood often look cleaner with baseboards removed and reinstalled over the new floor, while carpet and some vinyl can go in with baseboards in place. Removing them yourself saves labor, but only if you’re careful with the trim. Ask your installer at the estimate so the cost is on the written quote.
Tile is walkable once the thinset or grout is set; glue-down vinyl and carpet need the adhesive cure window your installer specifies; click-together LVP and laminate are often walkable sooner but should settle before heavy furniture goes back. Refinished hardwood needs the full finish cure. The exact window depends on your product, so ask the crew before they leave. Call (888) 721-9818 to talk through your product and get a free estimate.
Slab-on-grade is common in Henderson’s newer construction, and it changes the prep. Concrete holds and releases moisture differently, so your installer will check moisture before any product goes down, and the results determine the underlayment or adhesive system. Visible cracks, cool patches, or dark spots all deserve a look. Flag them at the estimate visit so they’re factored into the plan.
It depends on the square footage, the product, the subfloor condition, and whether there’s existing flooring to remove. A single room and a whole home are very different jobs. The schedule is set at the estimate, where we measure the space and write a scope that covers prep, materials, and finish work. Call (888) 721-9818 for a free estimate and a clear schedule rather than an estimate over the phone.
The Bottom Line
The preparation that matters most in Henderson isn’t the furniture. It’s the air, the moisture, and the staging. Keep your home at 68 – 75°F with the HVAC running for at least 48 hours before installation, acclimate your material by type (hardwood 3 to 5 days, luxury vinyl about 24 hours, tile none), and check the subfloor for squeaks, moisture, and cracks before the crew arrives. Decide on baseboards and transitions early so the cost is in the written estimate. Plan for the cure window with pets and kids. We install carpet, tile, and hardwood, and we refinish hardwood too, with products from COREtec, Pergo, LifeProof, Mannington, and more. If you’re ready to plan, call Henderson‘s flooring specialists at (888) 721-9818 for a free estimate. We answer 24/7. Fast dispatch from 7am to 7pm, Sunday through Friday.
Written by the team at Flooring Installation Henderson.