
Last updated November 18, 2026
 Hardwood
 Engineered hardwood
 Luxury vinyl plank
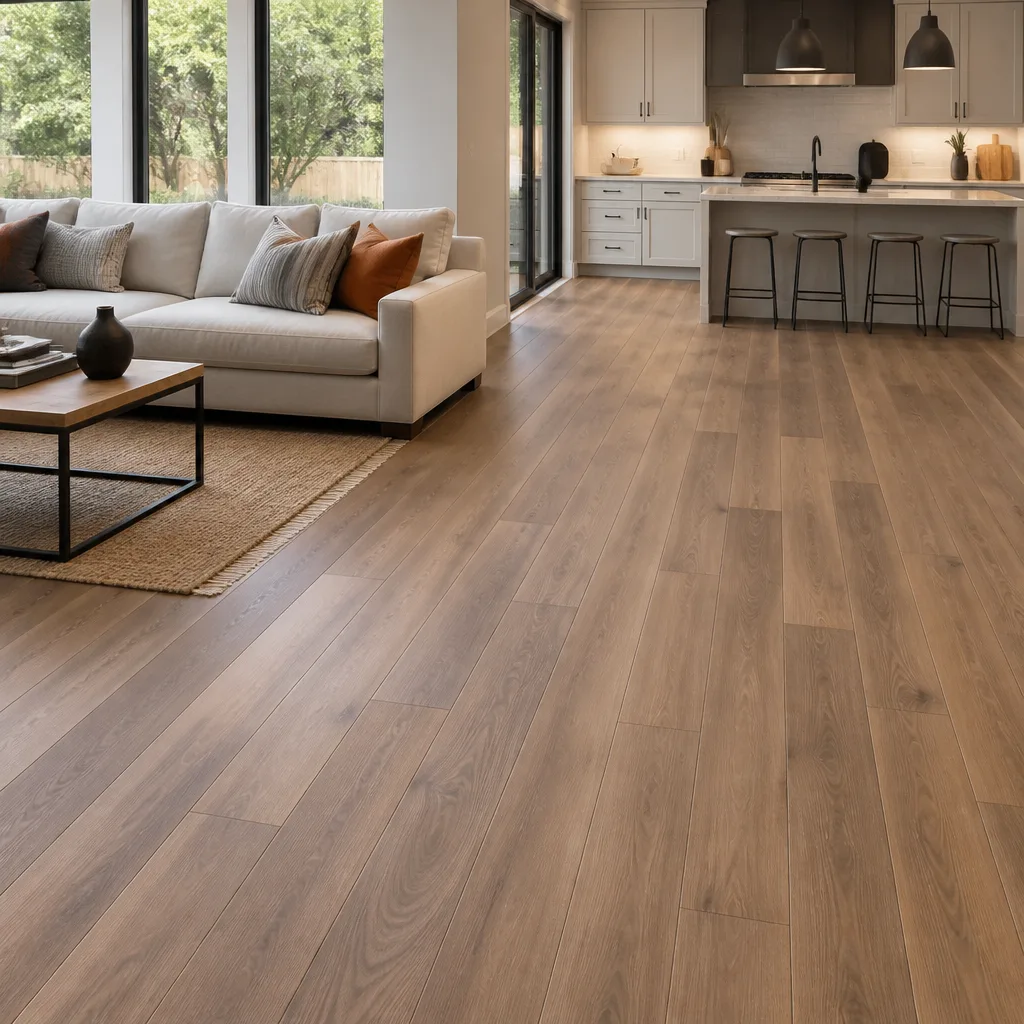 Laminate
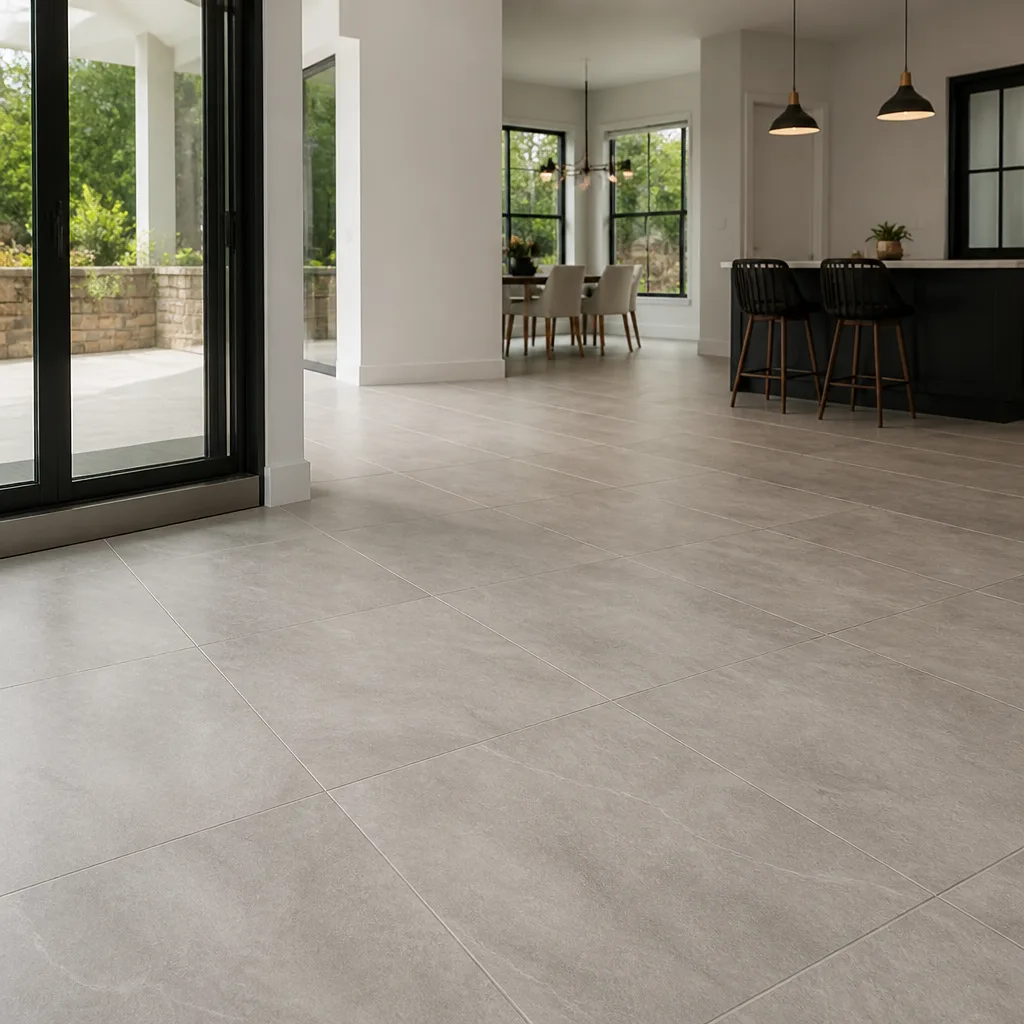 Porcelain tile
 Carpet
 Shaw
 Mohawk
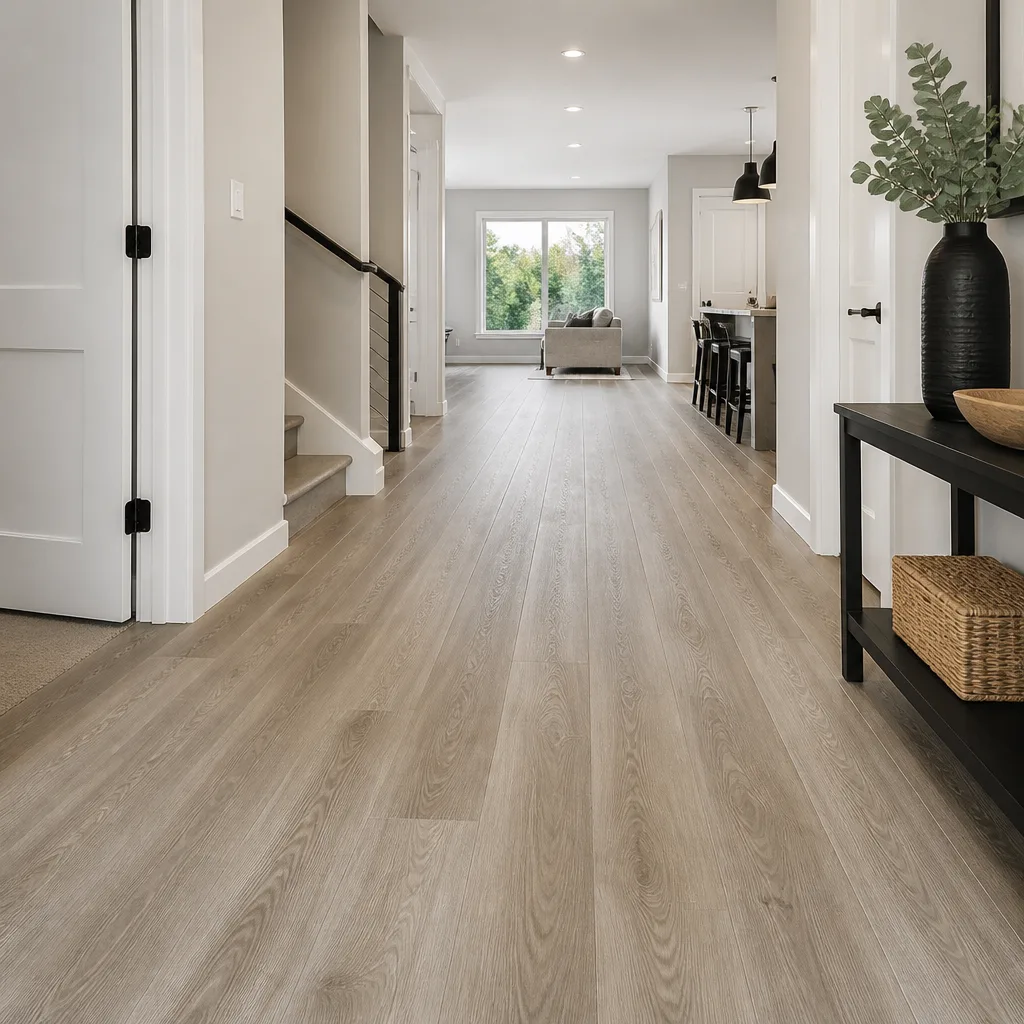 COREtec
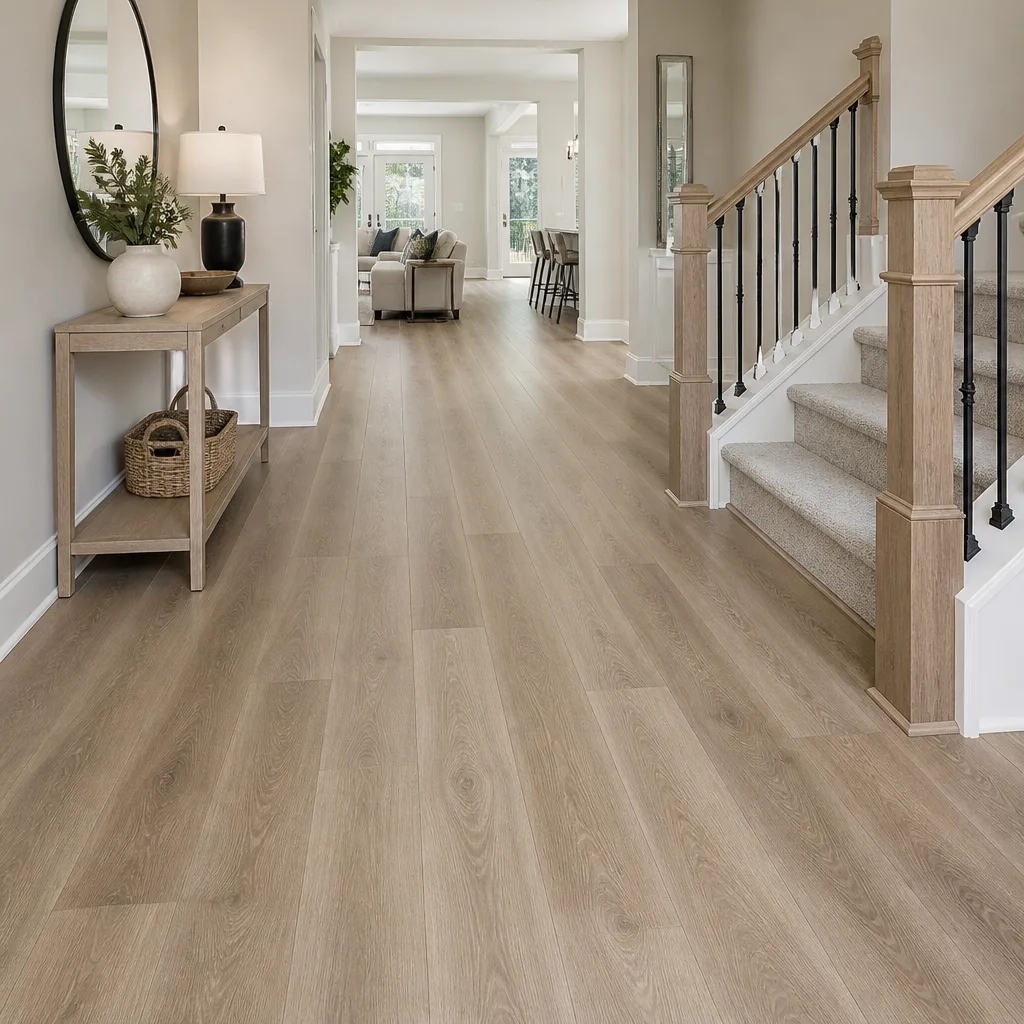 Pergo
Free in-home measure and written estimate: Shaw, Mohawk, COREtec and Pergo lines compared on your own rooms, with carpet, tile, vinyl plank, laminate and hardwood laid out side by side
Get your free estimateFix It or Start Over: Flooring Repair vs Replacement
Most homeowners making this decision ask the wrong first question. “How bad is the damage?” matters far less than “What caused it?” A cosmetic fix layered on top of an unresolved moisture or subfloor problem is a repair that fails again, often within a season or two of Henderson’s dry heat and the occasional monsoon-driven humidity. The damage you see is a symptom; the cause is the diagnosis. In this guide, we walk through the root-cause framework we use to decide whether a floor in Henderson should be repaired or replaced, what each option really costs in time and money, and which materials can accept a fix without becoming the weakest spot in the room.
Quick Answer
Repair a floor when the damage is cosmetic or isolated and the cause has been identified and corrected; replace it when the damage is structural, when the subfloor or underlayment is compromised, or when installation failure means the whole field is compromised. For hardwood, refinishing is viable only if enough wear layer remains above the tongue, which we measure at the estimate. For tile and LVP, the answer depends on whether you can still source matching material and whether the locking system is intact.
Styles & brands we work with
- Hardwood
- Engineered hardwood
- Luxury vinyl plank
- Laminate
- Porcelain tile
- Carpet
- Shaw
- Mohawk
- COREtec
- Pergo
Table of Contents
- Start With the Cause, Not the Damage
- Cosmetic, Structural, and Installation-Failure Damage
- Hardwood Refinishing: The Sanding Depth Math
- Tile Repair in a High-Build Market
- The Hidden Costs of Partial Replacement
- LVP and LVT: When a Single-Plank Swap Works
- A Practical Decision Tree
- Common Mistakes to Avoid
Start With the Cause, Not the Damage
Before we quote a repair, we want to know why the floor failed. A cracked tile in a Henderson kitchen tells us something very different from a cracked tile in Green Valley. One may have been hit by a dropped pan; the other may be sitting on a slab that has moved, or on a thinset bed that never bonded properly to a dusty substrate. The repair is identical; the outcome is not. Patch the first and it holds. Patch the second and the new tile cracks the same way the old one did, because the movement that broke the first tile is still there.
In our experience across Henderson, three causes account for most damaged floors:
- Impact damage. A dropped object, a dragged appliance, a heavy dog, a chair leg with no glide. Localized, cosmetic, and usually repairable.
- Moisture intrusion, from above or below. Slab moisture wicking up through the concrete, a slow leak under a dishwasher, a swamp cooler or AC condensate line that drips. Henderson’s dry air hides this for months because evaporation is so fast; the damage shows up later as cupping, delamination, or a lifted edge.
- Installation failure. No expansion gap, missing underlayment, tile set over a cracked or dusty slab, planks installed before acclimating, or a patch glued over a wet substrate. This is often the largest category, and it is not the material’s fault. It’s the install’s.
Getting the diagnosis right is the whole game. A repair that solves the symptom but ignores the cause will be back. When the cause is corrected, a repair can hold for years. When it isn’t, the floor tells you within one or two seasons.
Cosmetic, Structural, and Installation-Failure Damage
Every repair decision comes down to which of these three categories the damage fits. Each has a different answer.
Cosmetic damage
Surface scratches, scuffs, dull finish, small chips, a single cracked tile, a single torn carpet seam, a discolored grout line. The floor is otherwise sound. This is the easiest repair category, and it’s where repair almost always wins. On hardwood, a screen-and-recoat can refresh a dull finish without a full sand. On tile, one cracked piece can often be swapped out. On carpet, a stretched seam or a burned patch can be re-stretched or patched from an attic remnant.
Structural damage
Cupped or crowned hardwood that has been wet for months, a delaminated LVP plank field, subfloor rot, a joist that has sagged, or a slab with a significant crack running under the floor. Any of these means the layer beneath the surface is compromised. A structural repair is essentially a replacement of the affected field, and often the whole room. We don’t recommend patching a structural problem; the fix becomes a cosmetic mask that fails again on the next rainy week.
Installation-failure damage
This is the one most homeowners miss. The material is fine. The installation wasn’t. Hallmarks include:
- Tiles that sound hollow underfoot, indicating poor thinset coverage.
- LVP or laminate planks lifting at the seams after a dry spell, because the installation lacked the expansion gap the product instructions required.
- Carpet wrinkles that return weeks after installation because the stretch was too light.
- A new floor that cupped within the first month of installation.
Installation-failure damage can sometimes be reseated and re-bonded on a small scale, but if the pattern is widespread, replacement of the affected area is the correct answer. The good news: it’s almost never the product’s fault, and we can usually guide you toward a brand and installation method that won’t repeat the problem.
Hardwood Refinishing: The Sanding Depth Math
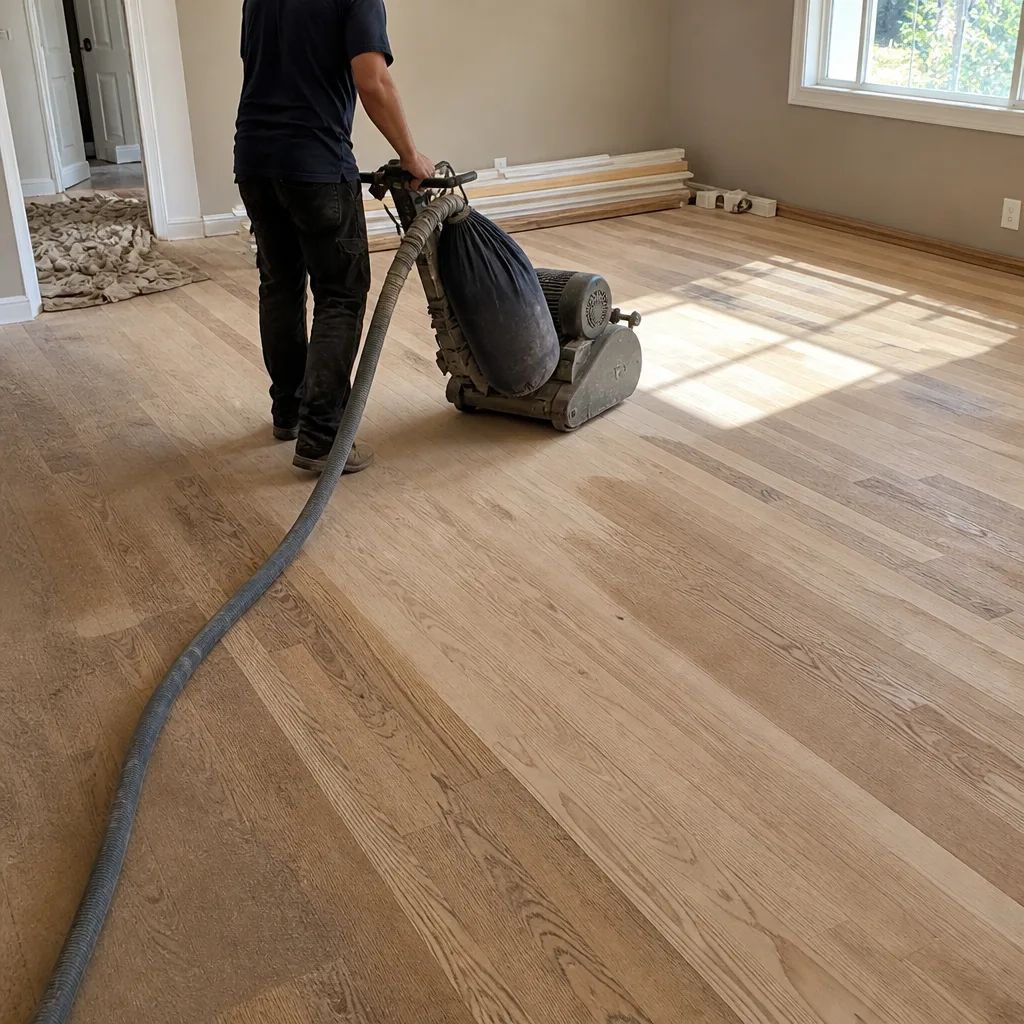
Refinishing a hardwood floor is the single most cost-effective replacement-avoidance tool in flooring. It saves the floor’s slab or subfloor, keeps the existing species and grain, and delivers a fresh look without ripping out a structurally sound field. The catch is that refinishing has a physical ceiling, and every household should know it before they call.
A solid hardwood board has, in simple terms, three zones: the top face above the tongue, the tongue itself, and the lower wear layer below the tongue. When refinishing, the sanding machine removes a thin layer of the face. The first refinish is the least aggressive. Every subsequent refinish takes a little more. Once the sanding has reached the tongue, the board is done: sanding further will expose the tongue and create a visible gap, and the board can no longer accept another pass.
Here’s the diagnostic check we use at the estimate:
- Measure the wear layer. A coin or a thin probe laid across the top surface, referenced against the tongue line at a board-end, tells us approximately how much material remains above the tongue.
- Look at the board’s history. Existing finish thickness, sanding marks, and any previous patches suggest how many refinishes the floor has already seen.
- Ask whether the finish is factory or site-applied. Factory-finished flooring has a set wear layer; it can usually be screened and coated, but not always deep-sanded to bare wood.
- Check for cupping or crowning. Sanding a cupped floor means cutting deeper to flatten it; on a thin wear layer, that is a dealbreaker.
When the wear layer is thick and the boards are flat, refinishing is a clear win. When it’s thin, cupped, or previously sanded twice, refinishing stops being viable, and we tell the homeowner directly. Our technicians have up to 9 years of experience reading that math, and it’s why we do refinishing in-house rather than sending it out; the call about whether to refinish or replace is the same call, and we’d rather make it together.
Tile Repair in a High-Build Market
Tile is one of the few surfaces where single-piece repair is genuinely routine: pop the broken tile, cut the thinset back to clean substrate, set a matching piece, grout, and move on. Two hours of work can save a floor. Except when it can’t.
Henderson’s high-build-volume housing market creates a specific tile problem: discontinued patterns. When homes are finished in bulk in the same subdivisions and put on the market at similar times, the tile selections often follow the same builder’s catalog. That catalog changes every year or two. Three or four years after the house is built, the original tile may still be on a shelf or it may be gone, and finding a matching lot from the same dye-lot is the hard part.
What we do when a match isn’t available:
- Search secondary sources. Builder-closeout suppliers, surplus tile warehouses, and liquidation yards often hold spare boxes from a discontinued run, though not always in the right dye-lot.
- Use a contrast design. A deliberate accent tile in the failed spot, such as a contrasting grout or a decorative inset, looks intentional rather than patched. In a kitchen backsplash or a bathroom floor, this can upgrade the room rather than fade into it.
- Repair invisibly with epoxy fill. For small chips and hairline cracks, a matched epoxy fill can hold for years and disappear underfoot.
- Replace the field. If the layout is a uniform field, the tile is no longer available, and the damage is not isolated, full replacement is the only honest answer, and we’ll tell you that up front.
For a homeowner planning ahead, this is the argument for buying one spare box of tile at installation time. It costs a small amount; it saves a floor down the road.
The Hidden Costs of Partial Replacement
Partial replacement is the middle path: not a patch, not a full redo. It sounds efficient. It has costs that don’t appear on the estimate.
Acclimation. Most wood, laminate, and resilient materials need to sit in the room where they’ll be installed long enough to settle to the home’s temperature and humidity. The exact time is set by the product’s instructions, not by us, and skipping it introduces movement into a floor that will look like an install failure later. For a small patch, that means the replacement material has to sit patiently while you live with a hole in the floor.
Dye-lot mismatch. A new box of COREtec or Pergo from a store shelf today may not match the lot your floor was made from. Even identical product lines shift in shade and grain from lot to lot. In an open field, this shows. In a closet or a corner, it doesn’t. Knowing where the mismatch can hide is what saves a partial replacement from looking like a patch.
Transition strips. The strip that joins the old floor to the new is the most honest signal of a partial repair. Sometimes a T-mold or reducer is required by the material itself (say, where two rooms in different materials meet), and it belongs because it’s purposeful. When a transition strip exists only because the repair stopped short of the wall, it announces to anyone walking in that the floor has a patched section. In a rental unit, this doesn’t matter much. In a home you plan to sell, it can.
LVP and LVT: When a Single-Plank Swap Works
Luxury vinyl plank and tile are the most repair-friendly floors in the house, until they aren’t. The material is water-resistant, not waterproof in the sense that it can sit in standing water, and the locking system is what delivers both the look and the repairability. Here’s the decision tree we use in Henderson homes:
- Is it a click-lock or glued-down install? Click-lock planks can be released from the end of the row and re-set. Glued-down planks are usually replaceable one-by-one with effort. A full-glue installation complicates a single-plank repair, but a click-lock float is often a straightforward job.
- Is the click-lock system still intact? A single damaged plank near the room’s edge can be replaced by pulling the row back to that point, swapping the piece, and re-clicking. If the locking profiles along the adjacent planks are fatigued, cracked, or missing, that patch won’t hold, and we may recommend taking out a small field instead.
- Is the failure caused by the flooring or by the substrate? A plank that fails because the slab beneath it has moisture is going to fail again. Confirm the substrate before installing a replacement plank.
- Is the replacement plank from the same lot? Same as tile: a shade mismatch on a plank field is often visible. Place the replacement in a low-traffic area if the color isn’t identical, and use the spare from the original install if one exists.
If you’re working with a brand like LifeProof or COREtec, the good news is that both lines are widely available today, which improves the odds of finding a close match. The bad news is the same as any other product: the exact collection may have been discontinued by the time you need it.
A Practical Decision Tree
Walking into a repair or replace decision, here’s the sequence we run through with a homeowner at the estimate:
- Identify the failure. Cosmetic, structural, or installation failure. This is the fork in the road.
- Confirm the cause has been resolved. Dry the substrate, fix the leak, correct the gap, or replace the underlayment. If the cause is still active, a repair will not last.
- Check material availability. Is the original tile, plank, or carpet still available in the same dye-lot, or from a closeout source?
- Assess refinishing viability (hardwood only). Measure the wear layer over the tongue. If it’s thick enough and the boards are flat, refinishing is usually the best value. If not, replacement of the affected area is more honest than a refinish that will not last.
- Weigh the hidden costs. Acclimation, dye-lot, transition strips, and labor for a partial vs. a full install. In a small room, a full replacement is often not much more expensive than a well-done partial.
- Get it in writing. The written estimate is the final word on price; anything else is an estimate.
Every step here is something we run through at the free in-home estimate. If you’re weighing it yourself before you call, that’s fine too. The point is to know what the decision rests on before you commit to a repair or a replacement.
Common Mistakes to Avoid
- Repairing over an unresolved moisture problem. If a slab is wicking moisture into the floor, any new plank or tile set over it will fail too. Dry the substrate before you patch anything.
- Refinishing a floor with a thin wear layer. Sand past the tongue and the floor is done. Measure before you sand; if you’re not sure how to read it, bring in a pro to look before the machine goes on the floor.
- Matching tile without checking the dye-lot. Two boxes with the same SKU can sit at opposite ends of the shade range. In a Henderson high-build subdivision, this is more common than homeowners expect.
- Assuming the new plank will match the old. Same issue as tile: even a same-model replacement can shift in shade. If the replacement area is visible, plan for a placement that hides the difference.
- Skipping acclimation to save a day. The product instructions set the acclimation time. Cutting it short introduces movement and voids the end result.
- Hiring a general contractor for a flooring-only problem. A remodeling generalist may not have in-house refinishing capability or the sanding and stain-matching background to make a hardwood repair look like the original. The right specialist saves you from a replacement.
- Choosing product before choosing the room’s use. A soft carpet that looks great with low pile won’t survive a dog. A premium LVP with a subtle grain won’t hide scratches in a bright hallway. Match the product to the room, not the other way around.
See the difference
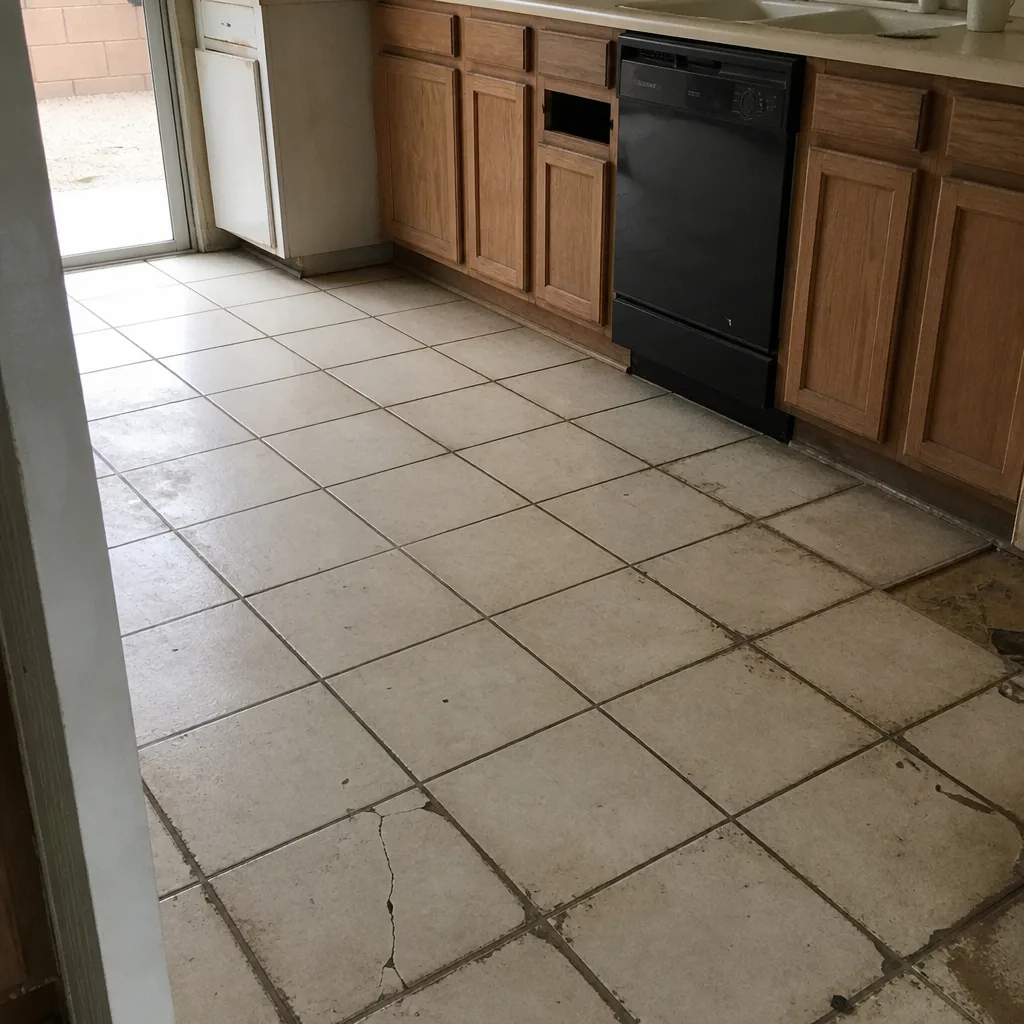 Before
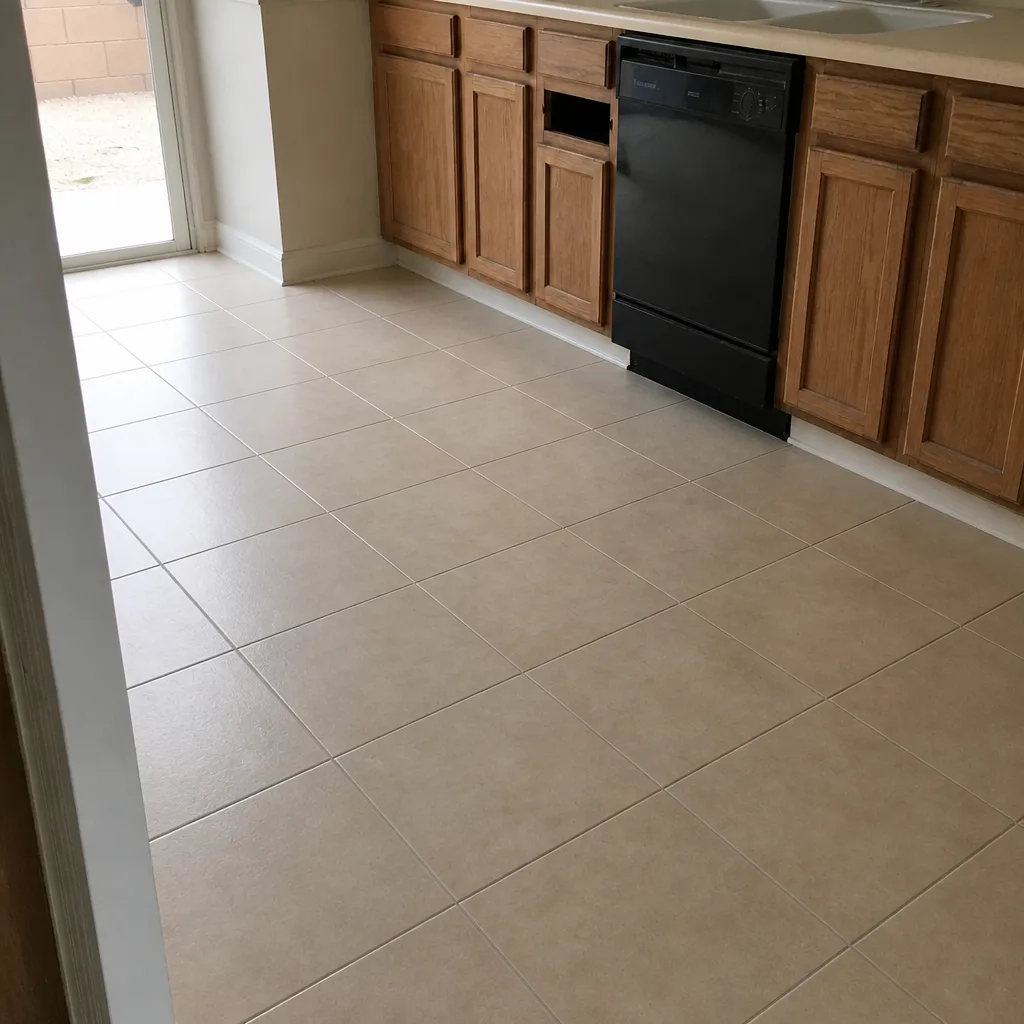 After
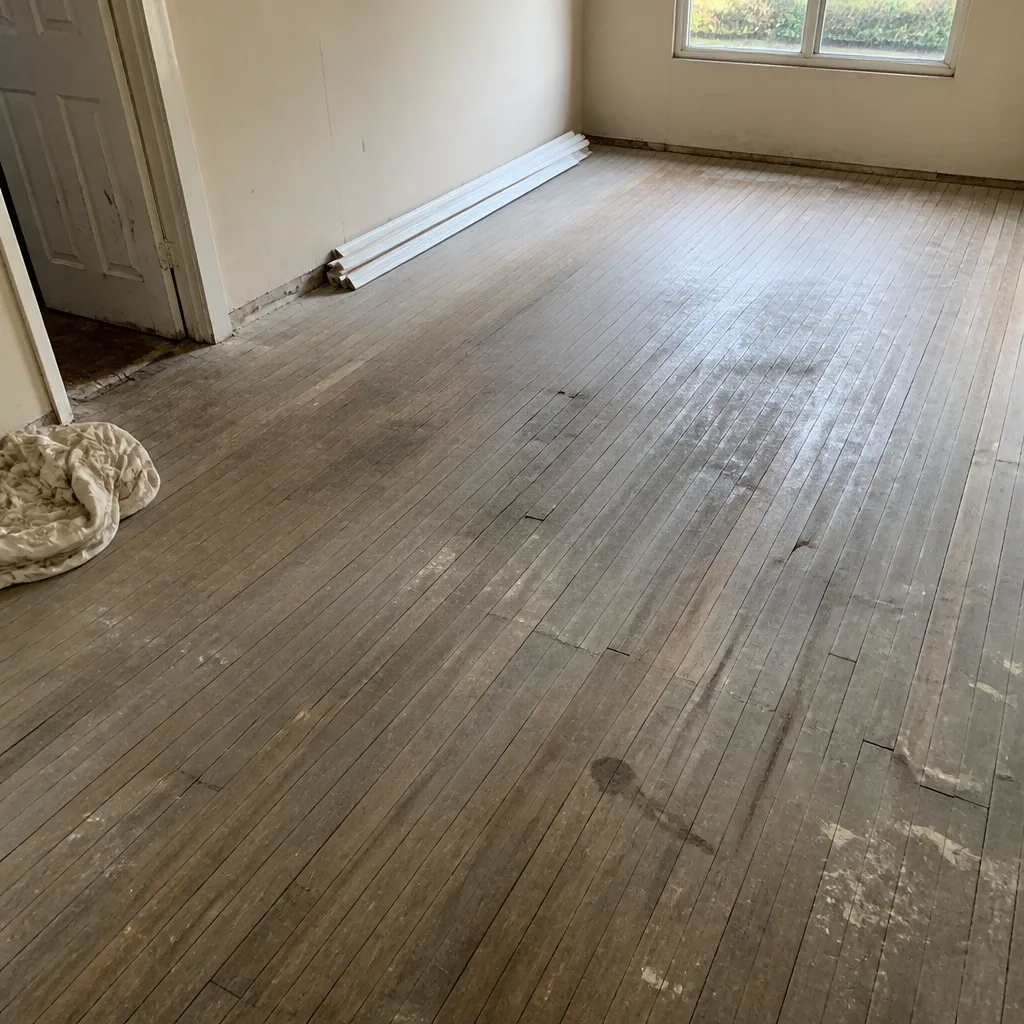 Before
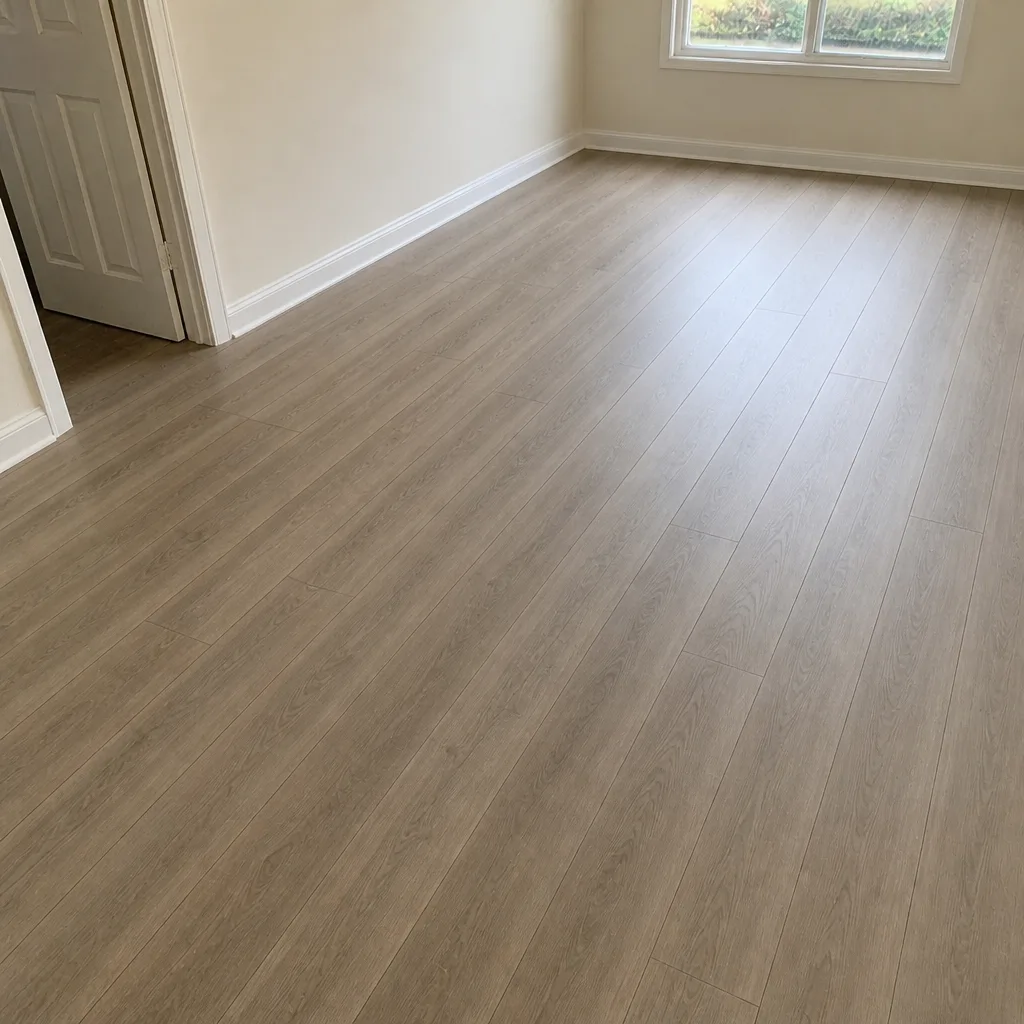 After
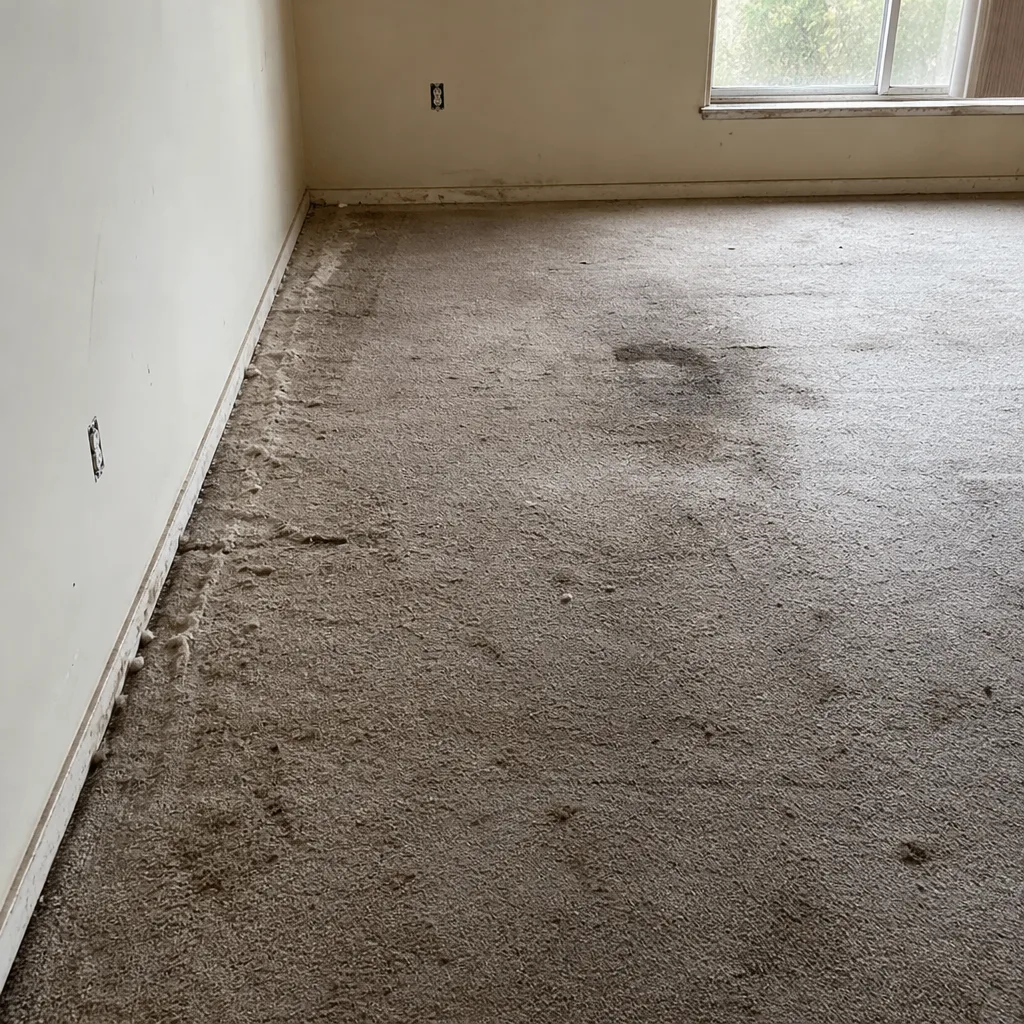 Before
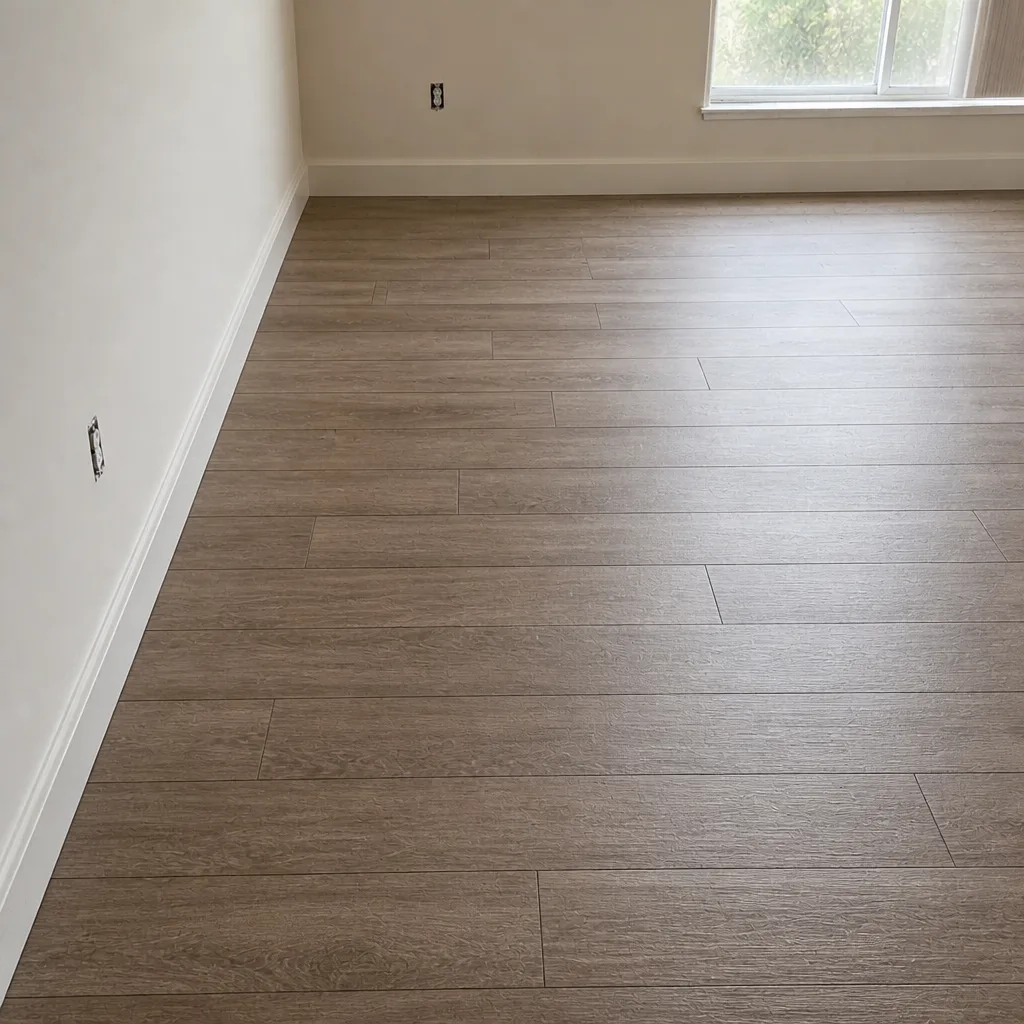 After
When to Call a Professional
Bring in a professional when the damage is beyond a single tile, a single plank, or a known cosmetic issue; when you’re not certain what caused the damage; when the floor is hardwood and you’re unsure how much wear layer remains; or when the failure is in a room where a bad repair will be visible. If any of those apply, don’t guess. We offer free estimates in Henderson, and our technicians have up to 9 years of experience reading these situations. Flooring Installation Henderson offers free estimates in Henderson. Call (888) 721-9818. We answer 24/7. Fast dispatch from 7am to 7pm, Sunday through Friday. We install and refinish carpet, tile, and hardwood, and we carry nine trusted brands under one installation team, from Shaw and Mohawk to COREtec, Pergo, LifeProof, Mannington, Armstrong, Daltile, and Karndean. If you’d rather start with the install side first, see our flooring installation overview.
Frequently Asked Questions
It varies. Repair costs depend on the damage and the material, and replacement costs depend on the square footage and product. The only honest number comes from a written estimate after an in-home visit. Call (888) 721-9818 for a free estimate; the written estimate sets the final price.
No. Refinishing depends on whether enough wear layer remains above the tongue and whether the boards are flat. We measure the wear layer at the estimate and tell you honestly whether refinishing is viable or whether replacement is the better answer.
Not necessarily. We first search secondary sources for the discontinued tile. If a match isn’t available, options include an intentional accent design in the affected spot, an epoxy fill for small chips, or, as a last resort, replacing the affected field. In Henderson’s high-build market, discontinued tile is common, and we’ve worked through this many times.
The schedule is set at the estimate, after we’ve measured the room and selected the material. Acclimation time is determined by the product’s instructions and can extend the timeline; we account for that in the schedule we quote.
Yes. The in-home visit and the written estimate are free. Call (888) 721-9818 to schedule. We answer 24/7. Fast dispatch from 7am to 7pm, Sunday through Friday.
A flooring specialist does floors every day: sanding depth, stain matching, tile setting, carpet stretching, plank locking. A generalist may lay tile well but won’t necessarily own a floor sander or know how to color-match a refinish. If the decision is repair vs. replace, the person advising you should be a flooring specialist. Our crews do carpet installation, tile flooring installation, hardwood installation, and hardwood refinishing, and nothing else.
The Bottom Line
Repair vs. replace is a decision about cause, not severity. If the damage is cosmetic and the cause is fixed, repair is almost always the smart answer and saves you a substantial rip-out. If the damage is structural, if the substrate is compromised, or if installation failure runs through the whole field, replacement is the honest call. Hardwood refinishing can extend a floor’s life if there’s enough wear layer above the tongue; measure before you sand. Tile and LVP repairs depend on finding a matching lot, which is harder in Henderson’s fast-build subdivisions than it looks. For anything beyond a single tile or plank, the free in-home estimate is the smartest first move: it costs you nothing and it tells you which half of the decision you’re actually in.
If you’re ready to stop guessing and get a written price, that’s what we do. Call (888) 721-9818 to schedule your free estimate. We answer 24/7. Fast dispatch from 7am to 7pm, Sunday through Friday. We serve homeowners and property owners across Henderson, and we’d rather tell you repair when repair is right than sell you a replacement you don’t need.
Written by the team at Flooring Installation Henderson.