
Last updated November 18, 2026
 Hardwood
 Engineered hardwood
 Luxury vinyl plank
 Laminate
 Porcelain tile
 Carpet
 Shaw
 Mohawk
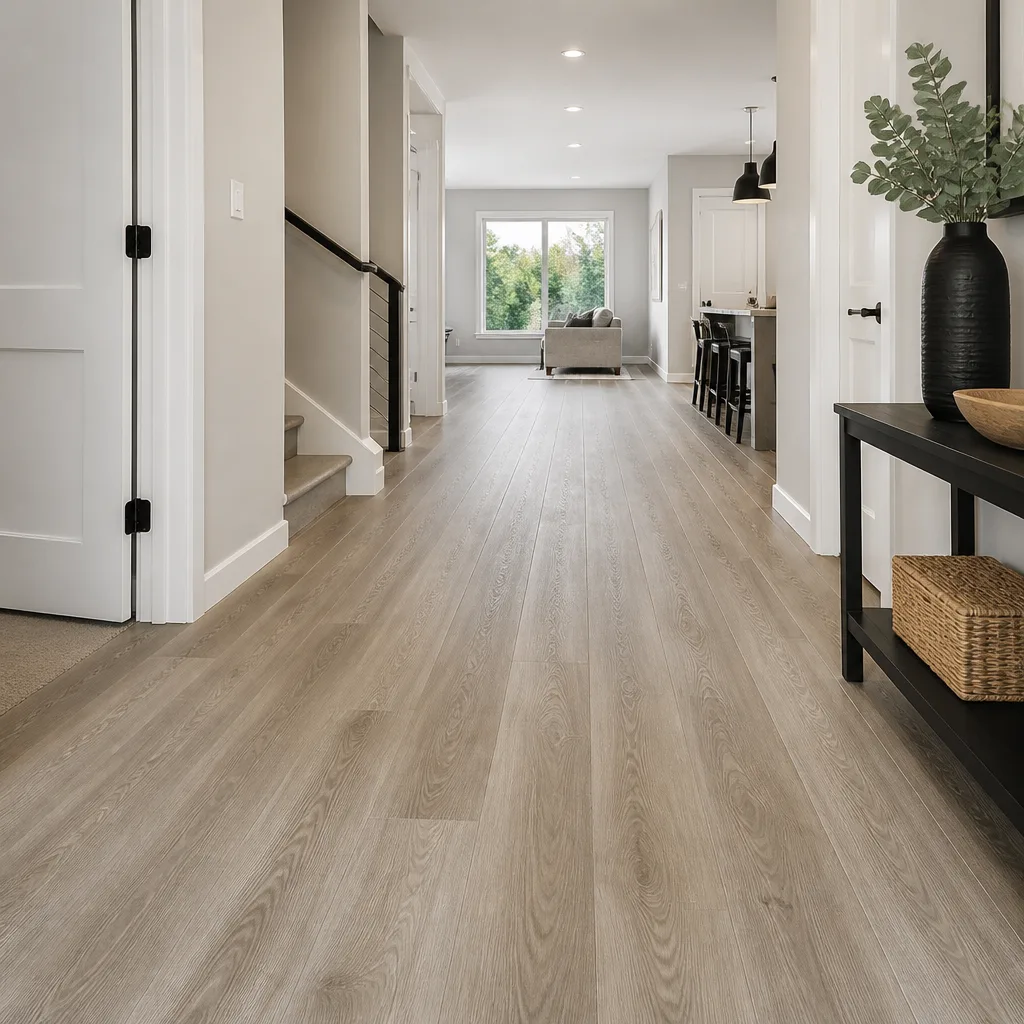 COREtec
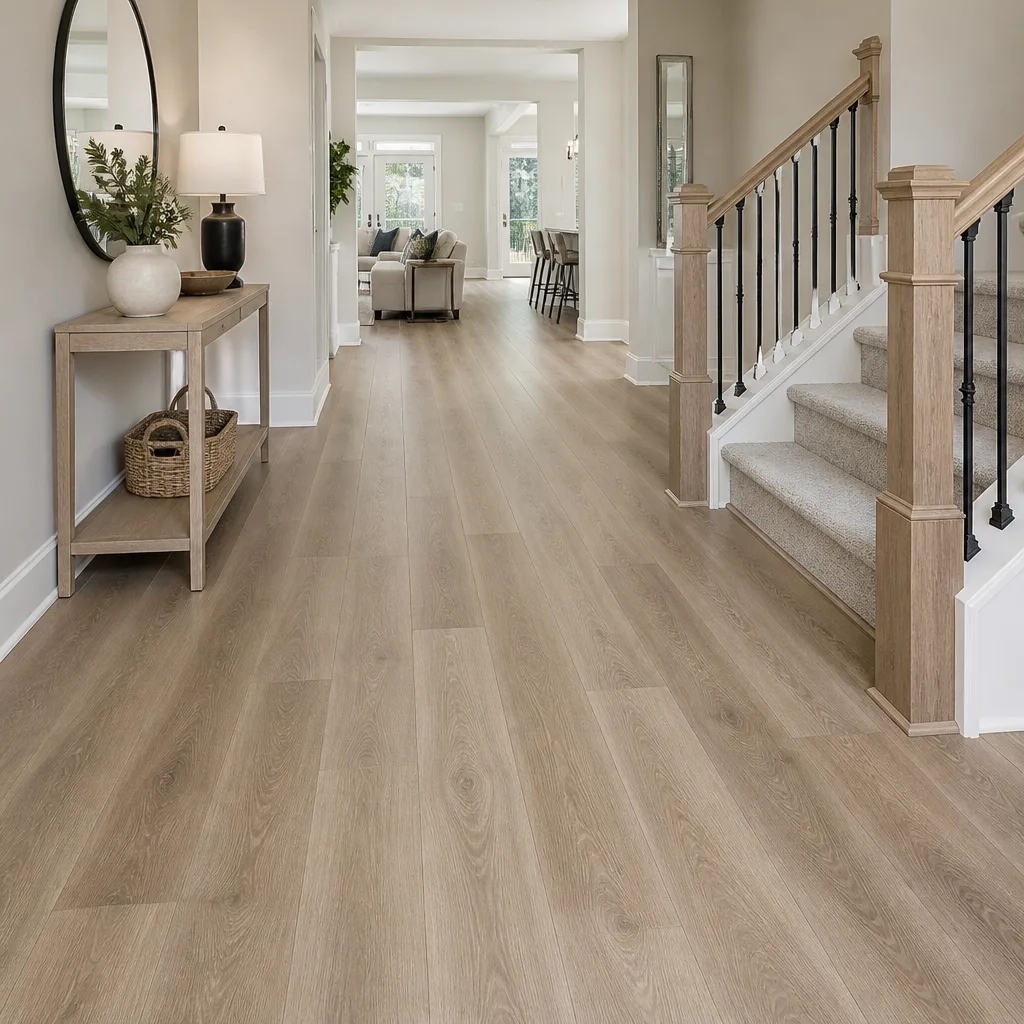 Pergo
Free in-home measure and written estimate: Shaw, Mohawk, COREtec and Pergo lines compared on your own rooms, with carpet, tile, vinyl plank, laminate and hardwood laid out side by side
Get your free estimateSubfloors Explained: What Sits Under Your New Floor
Here’s the part of a flooring project nobody photographs: the layer you’ll never see again once the last plank clicks into place. In Henderson, the most common complaint we hear about a floor that’s less than a year old is that it clicks underfoot, bounces slightly, or opens a gap at a seam. Homeowners assume they got a bad batch of flooring. Almost always, it’s the subfloor underneath. The planks did their job. The layer below them didn’t. This guide covers the three subfloor types you’ll find in Henderson homes, how to test flatness yourself before you commit to a quote, why desert slab moisture behaves the way it does, and what needs to be in a written estimate so the subfloor doesn’t turn into an ugly surprise on installation day.
Quick Answer
A subfloor is the structural layer beneath your finished flooring: usually a concrete slab in Henderson, sometimes OSB or plywood over joists in older homes and upper floors, and occasionally existing tile used as a substrate. It carries the load, keeps the floor flat, and controls moisture. If it’s out of spec on flatness or moisture, even premium flooring from brands like Karndean or Daltile will fail, usually within the first year. The subfloor determines roughly a third of your total installation cost, so it deserves more attention than the color swatch.
Styles & brands we work with
- Hardwood
- Engineered hardwood
- Luxury vinyl plank
- Laminate
- Porcelain tile
- Carpet
- Shaw
- Mohawk
- COREtec
- Pergo
Table of Contents
- The Three Subfloor Types in Henderson Homes
- Flatness: The 3/16-Inch Rule and How to Test It Yourself
- Moisture: What Henderson Slabs Do Under Your Floor
- Self-Leveling Compound: When It’s the Right Fix
- How to Spot a Subfloor Problem in an Inherited Installation
- What Your Written Estimate Should Say About the Subfloor
- How Subfloor Condition Affects Product Choice
- Frequently Asked Questions
The Three Subfloor Types in Henderson Homes
Henderson has a specific building history, and the subfloor under your floor says a lot about which era the house was built in and what you’re dealing with. Here’s what we see, and what each type means for the installation going on top of it.
1. Concrete Slab (The Dominant Type)
Most single-story homes across Henderson sit on a poured concrete slab. Newer construction in neighborhoods like Green Valley Ranch and Inspirada typically uses post-tension slabs, which have tensioned cables running through the concrete. That matters for one reason: you cannot drill into a post-tension slab the way you might drill into an older one. If a flooring plan needs anchoring, the installer has to know what kind of slab is under there first. A slab also passes moisture vapor up from below, which we’ll cover in its own section, because that’s the single biggest reason a floor in this climate fails.
2. OSB or Plywood Over Joists (Older Homes and Second Floors)
Older Henderson homes, and the second story of most two-story homes regardless of age, use oriented strand board or plywood panels nailed or screwed over wood joists. This subfloor is generally easier to work with than concrete because it can be screwed down to remove squeaks and, in some cases, sanded or patched flat. The problem with OSB is edge swell: if moisture ever gets into a seam or around a plumbing leak, the panel edges swell and lift, and the floor above them telegraphs every bump. On second floors, deflection matters too. A joist system that flexes under load will crack tile and pop plank seams no matter how good the finished floor is.
3. Existing Tile Used as a Substrate
Lots of Henderson homes have a previous owner’s ceramic or porcelain tile under a later layer of vinyl or laminate. Some installers will happily lay the new floor right on top of the tile to save a day of demolition. Sometimes that’s fine. Often it isn’t. Existing tile is only a valid substrate when it’s well-bonded, flat within tolerance, and free of cracks and hollow spots. Grout lines also telegraph through thin resilient flooring like luxury vinyl plank over time. When we install Daltile ceramic or porcelain on top of an existing tile substrate, the prep requirements are different again. The rule is to test the old tile, not assume it.
Flatness: The 3/16-Inch Rule and How to Test It Yourself
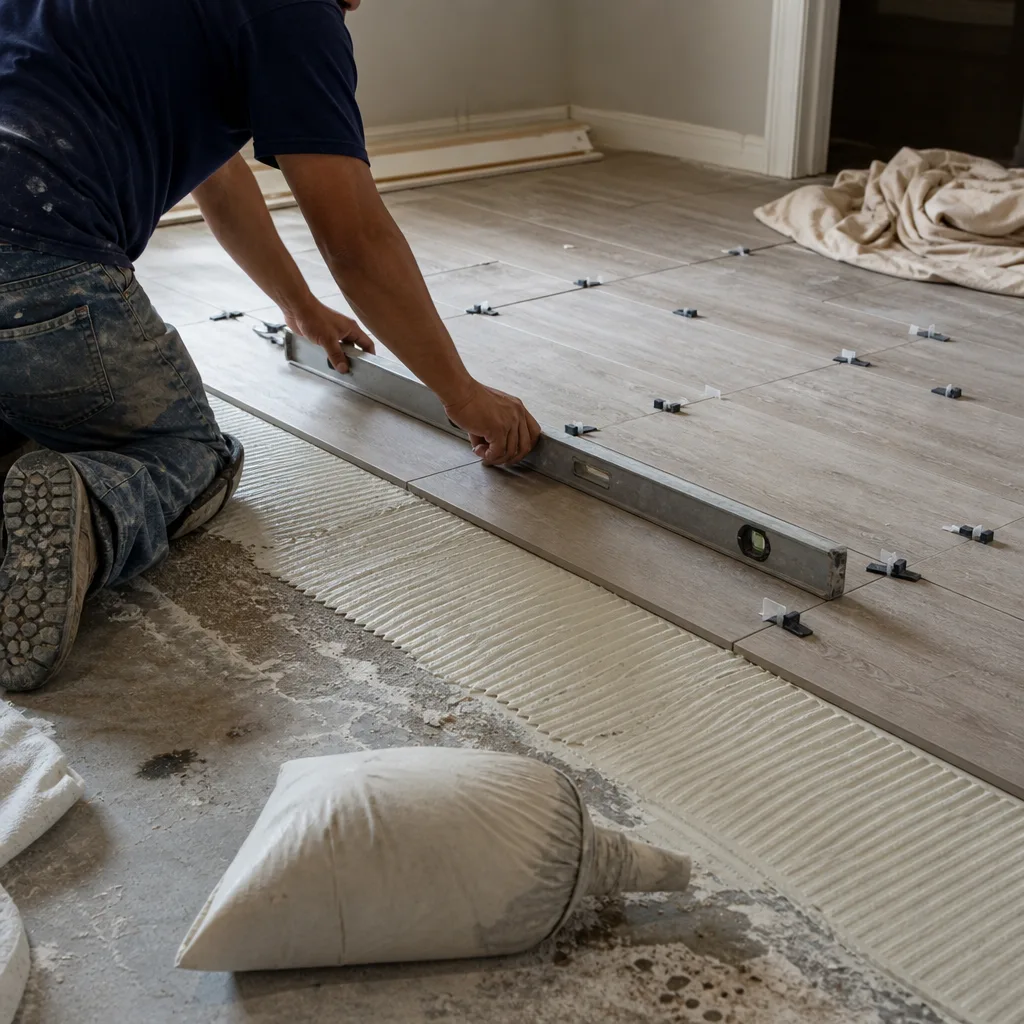
Before you collect flooring quotes, do one thing: get on your hands and knees with a 10-foot straightedge. The industry flatness standard most flooring manufacturers and installers work to is 3/16 of an inch in 10 feet. If the gap under your straightedge is bigger than that number anywhere across the room, the floor above it will have problems. The planks will see-saw, tile will crack at the high point, and the seam at the transition will lift.
How to Test It Yourself
- Get a 10-foot straightedge. A long aluminum level works. A builder’s straightedge does too. A piece of 10-foot trim is not a straightedge, it’s a banana, because trim sags.
- Mark out a grid on the floor. Test along every wall, through the center of the room, and both diagonals. The worst spot is often a concrete seam or a joist line, and it may not show up on the first pass.
- Slide the straightedge around and check the gaps. Look at both the high point (a rocked straightedge) and the low point (a visible gap under the middle). Any gap bigger than 3/16 of an inch is a floor that needs prep before it needs flooring.
- Note the location of every bad spot. Write it down with the measurements. This is the exact information an installer needs to quote the prep honestly instead of guessing.
- Walk barefoot or in socks. You’ll feel a hump or a dip underfoot long before you can see it. Touch confirms what the straightedge measures.
Do this test before you fall in love with a specific product. Mannington luxury vinyl plank and Karndean resilient flooring can go over most slabs, but they still need a flat substrate. The floor is only as flat as the surface it sits on. Testing first means your quote is based on facts, not the installer’s optimistic guess on the day.
Moisture: What Henderson Slabs Do Under Your Floor
Henderson sits in a desert, so the instinct is that moisture isn’t a concern. In a slab home, the opposite is true. Concrete is porous, and the earth under a slab holds moisture from irrigation, plumbing, and seasonal groundwater. That moisture vapor rises up through the slab and has to go somewhere. If it hits a floor system that traps it, it damages the flooring from underneath, usually over months, not days.
When a 6-Mil Poly Barrier Is Enough
A basic vapor retarder, typically a 6-mil polyethylene sheet laid over the slab before installation, is the right answer when the slab tests dry enough for the product being installed. It’s common, affordable, and appropriate for many Henderson homes, particularly where the finished floor is a ventilated system and the slab has a proven low moisture emission rate.
When Epoxy Moisture Mitigation Is Required
When the slab’s moisture emission is high, or when the flooring product is moisture-sensitive, poly isn’t enough. A penetrating epoxy coating or a moisture-mitigation membrane seals the concrete itself, and the floor goes on top of that. This is the fix when a previous LVP installation is curling at the edges or when a plank floor over a slab has a musty smell you can’t track down. The slab has to be tested before the correct answer is known. No honest installer can tell you which route is right without a test reading first.
Wood Subfloors and Henderson’s Dry Air
Wood subfloors in Henderson’s low humidity get drier than the national average. That means OSB and plywood can shrink and open up at the joints even without a plumbing leak. On second floors, you’ll sometimes find tiny gaps between panels that have quietly been collecting dust for years, and the finished floor above them shows a dip or a pop at the seam. It’s not a product failure. It’s the panels moving as the seasons change.
Self-Leveling Compound: When It’s the Right Fix
When flatness fails after the straightedge test, self-leveling compound is often the answer. This is a pourable, cement-based underlayment that flows out and cures flat. It’s a real line item on an honest quote, not a surprise charge, because the prep cost is driven by how out-of-flat the substrate actually is.
When It’s the Right Call
- A concrete slab with a dip or hump larger than the 3/16-inch tolerance over 10 feet.
- An OSB subfloor with a low spot that patching can’t fix without rebuilding a section.
- Under tile or large-format porcelain, where a wavy substrate will crack the tile.
- Under LVP or laminate where a see-sawing plank would pop a locking seam.
When It’s Not
- When the slab has active moisture problems. You don’t pour leveling compound on a slab that’s still emitting too much vapor. That’s a moisture mitigation job first.
- When the wood subfloor is deflecting. If the joist system flexes, self-leveler will crack. The fix is structural, not cosmetic.
- When the flatness is only mildly off. A feather patch at a transition can solve a small problem without a full pour.
The cost of a self-leveling pour varies with the square footage and how far the slab is out of flat. Your written estimate should show it as a separate, clearly priced line: X square feet of prep, at a specific rate. If the quote just says “prep included,” ask what that covers. If the quote doesn’t mention prep at all, ask specifically how flat the floor is and how the installer intends to correct it, because the answer will almost always show up on the final invoice.
How to Spot a Subfloor Problem in an Inherited Installation
If you bought a house with a floor that’s already a few years old, especially in a rental property or a recently flipped home, you may be inheriting an installation someone else cut corners on. The finished floor won’t tell you what’s wrong. The symptoms are physical, and you can check them yourself.
The Visual Signs
- Gaps at seams or plank edges that weren’t there when the floor was new, usually opening over months.
- Telegraphing: humps, dips, or lines that show through a resilient floor, indicating a defect in the substrate beneath.
- Cupping or crowning in hardwood, where the edges of a board lift above the center or vice versa, often a sign of moisture from below.
- Cracks in grout lines or tile that follow a straight line across the floor, which usually tracks a structural seam in the substrate.
- Mold or mildew in a closet or along a baseboard where no leak is visible, which can mean vapor is trapped between the slab and the floor.
The Tactile Signs
- A click or rattle underfoot when you walk across the floor slowly, most often over a concrete seam or a joist.
- A hollow sound when you tap across it with a knuckle, which suggests tile not bonded to its substrate, or a plank bridging a dip.
- A slight bounce or deflection, which means the subfloor isn’t stiff enough or has become detached from the joists.
- A faint odor near the transition strips, which can be trapped vapor between the barrier and the slab.
These are all checkable on your own with a straightedge and a barefoot. They’re also exactly what our technicians look for at the estimate visit when you’re considering a replacement or refinish. Our technicians have up to 9 years of experience, and they can tell you within a few minutes whether the floor above can be saved or whether the subfloor needs to be fixed first. This is not a product problem most of the time. It’s an installation problem, and it’s usually visible the day the floor goes down, if anyone looks.
What Your Written Estimate Should Say About the Subfloor
A good flooring quote in Henderson is not a single number with a product name. The subfloor is roughly a third of the total cost of the job, so the estimate should break it down clearly enough that you can see what’s being done and why. Here’s what to look for.
What Should Be In the Quote
- Subfloor type identified. “Concrete slab,” “OSB over joists,” or “existing tile being removed” belongs at the top. If it doesn’t, the quote is guessing.
- Flatness prep, listed separately. Self-leveling compound, patch, or grinding should appear as its own line, with square footage.
- Moisture mitigation, if tested. A poly barrier or an epoxy coating should be named specifically, not just “moisture barrier,” so you know which method is being applied.
- Removal and disposal of old flooring. Demo, haul-away, and dumpster costs are real and should appear as line items.
- Transition and trim work. Stairs, thresholds, baseboard removal and reinstallation, and closet transitions all affect the final price and the quality of the finished room.
- Product and square footage. Brand, product line, and the actual measurement. A quote based on eyeballing a room is a quote that changes on install day.
- Written scope, not verbal. Anything the installer tells you about the prep has to be in the document, or it’s not enforceable.
An honest quote shows you the prep cost because the prep is where the real work lives. A quote that’s suspiciously low for a room with visible dips is either not doing the prep or planning to add it later. For our part, we put subfloor condition assessment in the estimate visit on purpose, because that’s where the job gets decided. If you’re considering tile flooring installation over a slab, the flatness question is stricter than for resilient products, and the prep number matters more. For a second-floor job in an older home, we check the joist system before we ever talk product. The written estimate sets the final price, and it should be honest about every layer.
How Subfloor Condition Affects Product Choice
The right product depends on the substrate under it. We carry flooring installation in Henderson across every major category, and we match the product to the room and the subfloor, not the other way around. Here’s how one layer changes the other.
Concrete Slab That Tests Dry
A dry slab opens up your choices. A premium resilient like Karndean in a wood-look plank can go down without a full moisture membrane, provided the flatness is met. This is where resilient options shine over slab: they handle minor vapor movement better than a solid hardwood, and they don’t need to be glued or nailed through the concrete. If you want the real wood look without the floor movement risk, this is the conversation.
Concrete Slab With High Moisture
A wet slab changes the rules. Solid hardwood is a poor candidate over high-moisture concrete, because the wood will take on the vapor and move. A moisture-mitigation membrane needs to go down first, and then your product options open back up. Engineered hardwoods from a line like Mannington handle slab installation better than solid, because the plywood core is more dimensionally stable. The subfloor test result should come before the product pick.
OSB Over Joists Upstairs
Second floors are the opposite situation. Resilient plank over a wavy OSB second floor will telegraph every dip. The fix is mechanical: screw down, level, then install. Once that’s done, carpet is often the preferred choice on a second floor because it forgives minor changes in the substrate and adds sound dampening. If you’re looking at laminate or LVP upstairs, the flatness question is not optional.
Existing Tile Substrate
This is the one homeowners most often get wrong. When Daltile porcelain sits on a slab and is well-bonded and flat, you can sometimes go over it with resilient flooring at a huge savings. When the existing tile is cracked, hollow, or wavy, it has to come out. The test is to check for hollow spots and cracks first, and the honest answer to “can I go over the tile?” is “let’s test it.” That’s the whole decision.
Across every one of these, our approach is floors only. We don’t do general remodeling, we don’t hand you off between a sales person and a subcontracted crew, and we don’t skip the layer underneath because it’s not visible. Henderson homeowners who are choosing a new floor can get a free in-home measure and estimate, and a written scope that shows exactly what’s under the surface. Call the team at Henderson to schedule yours, and we’ll bring a straightedge and a moisture meter to the visit, not just a product catalog.
See the difference
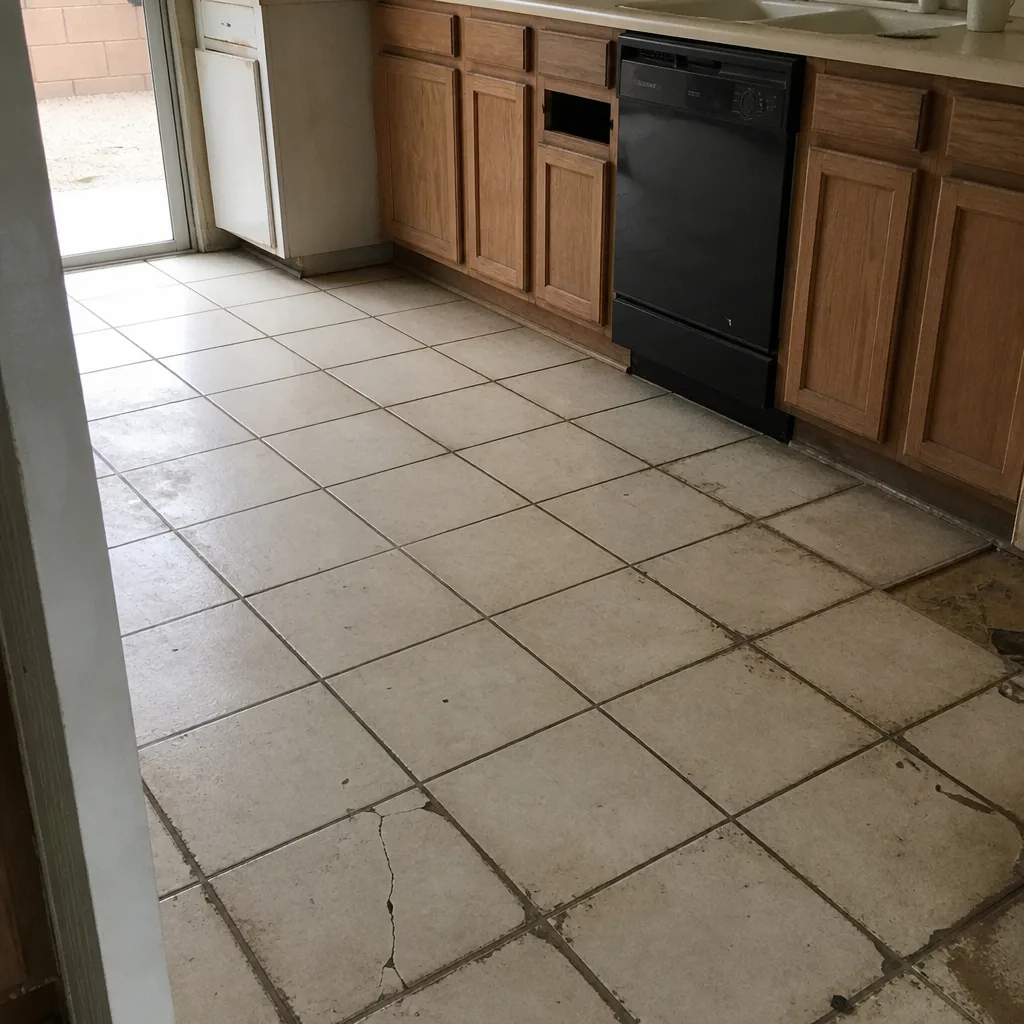 Before
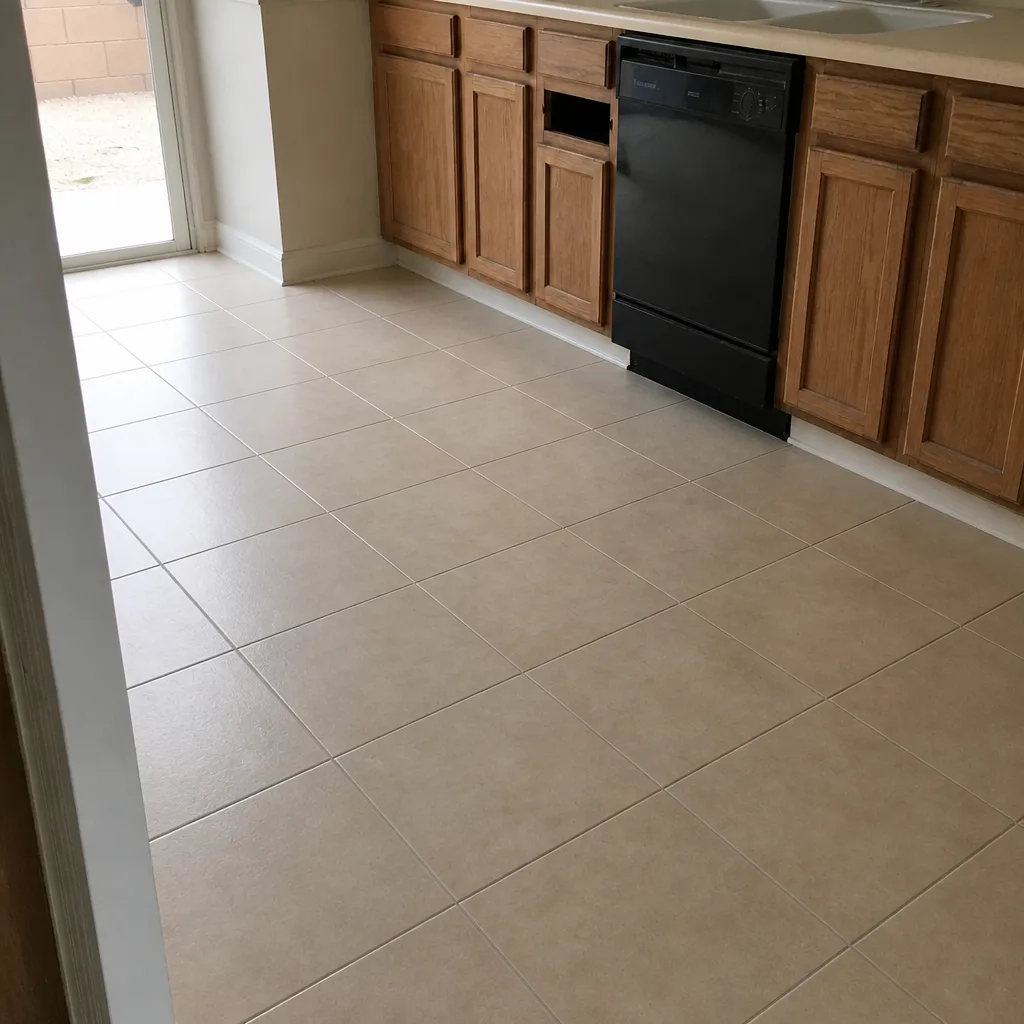 After
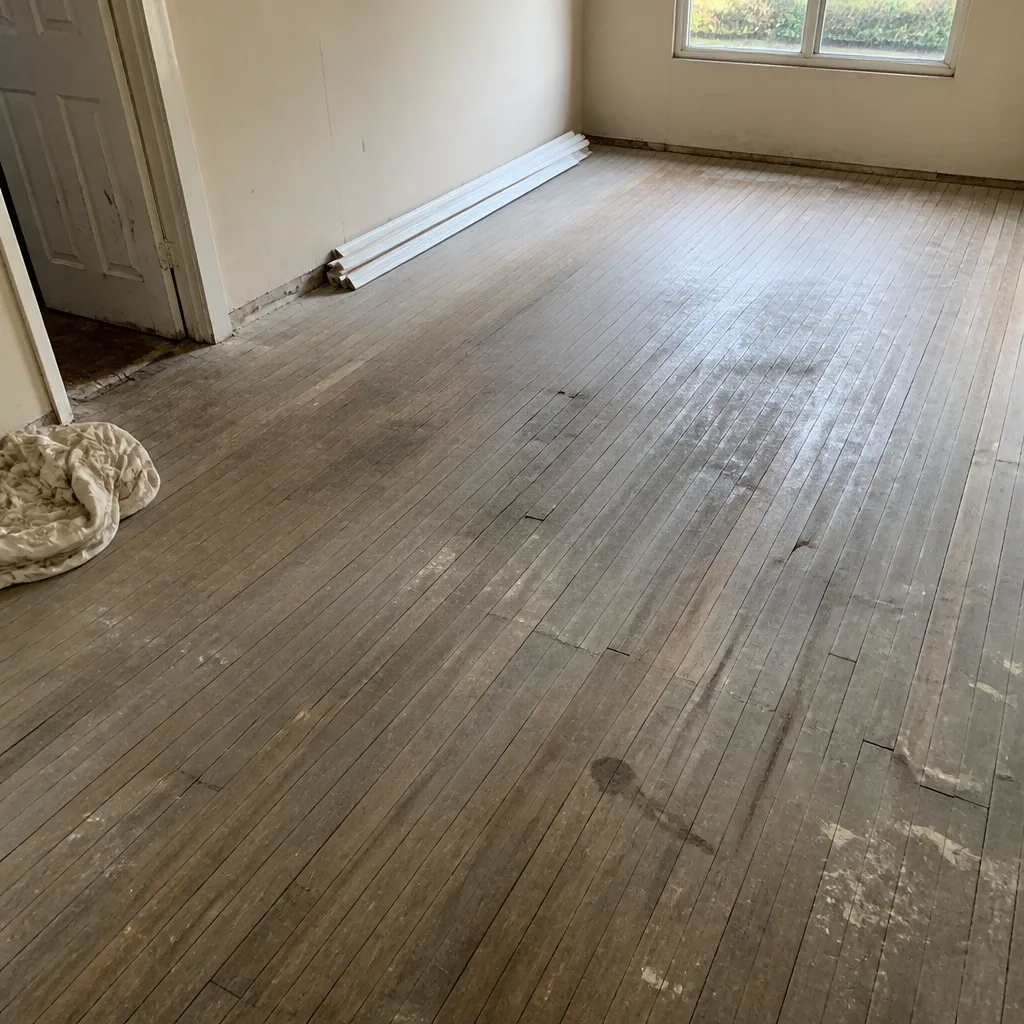 Before
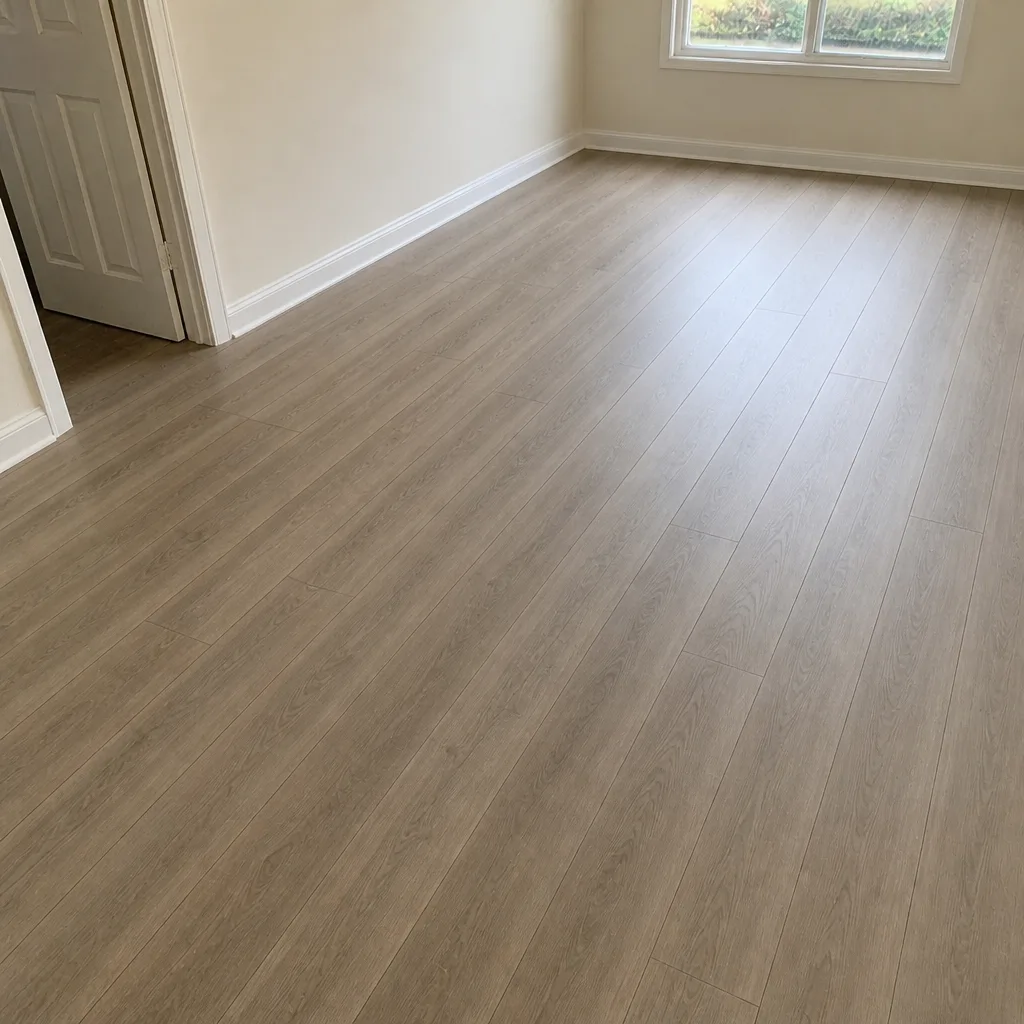 After
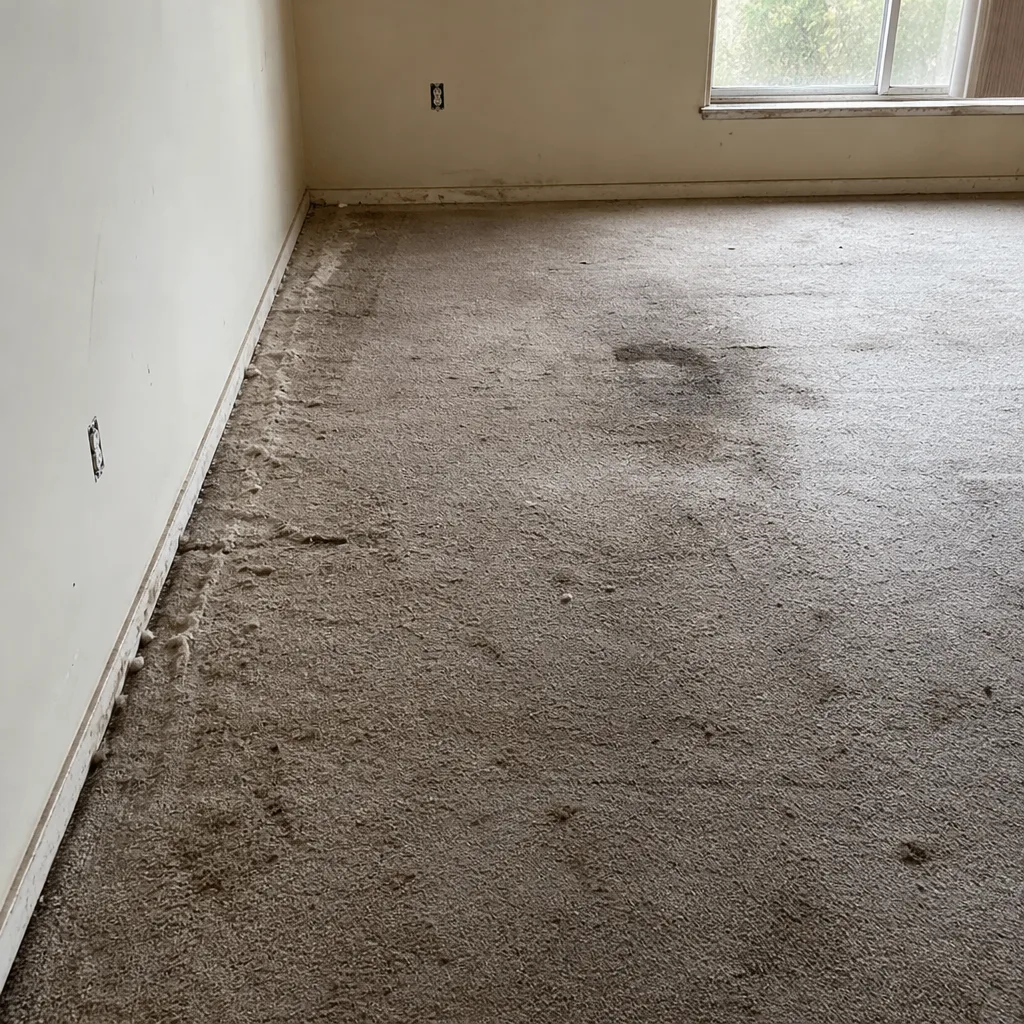 Before
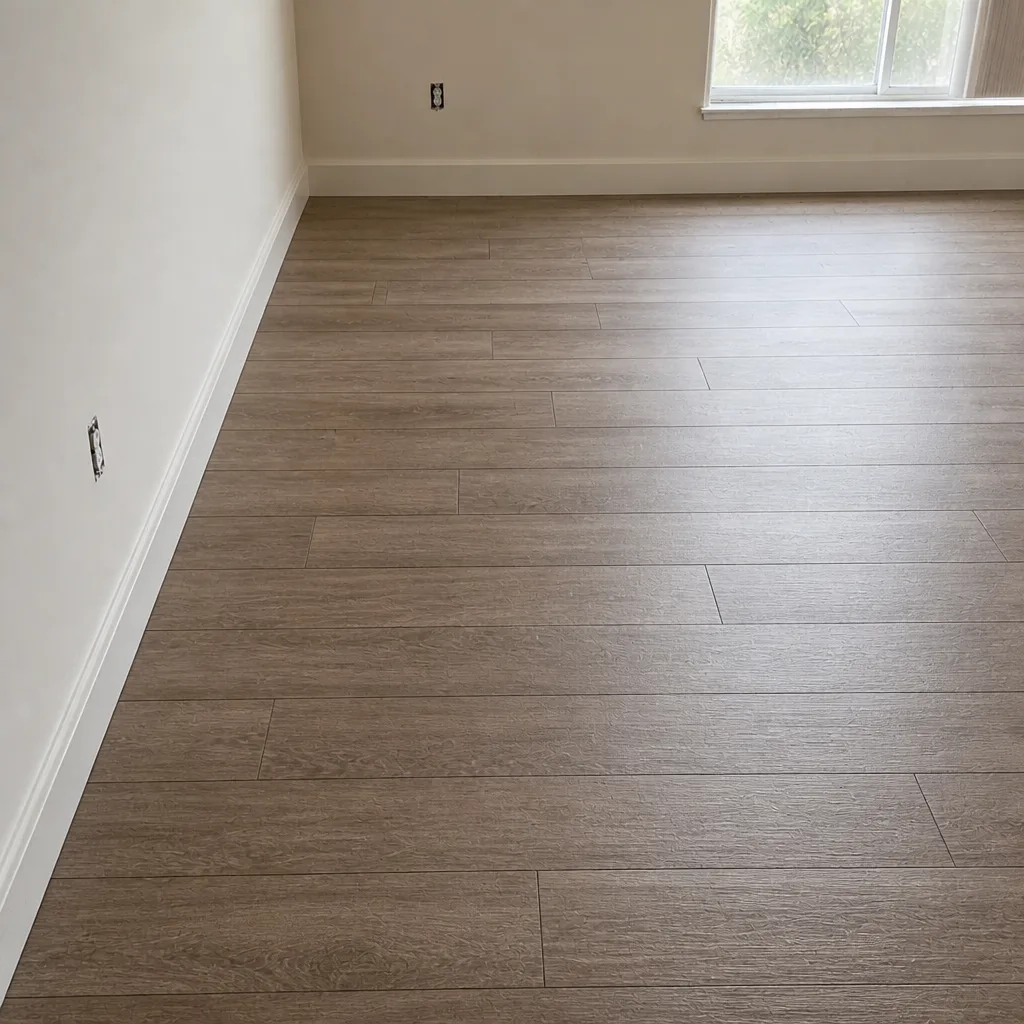 After
Common Mistakes to Avoid
- Skipping the flatness test before you pick a product. Homeowners in Henderson often choose the flooring before anyone has checked the subfloor. By the time the installer discovers a 1/2-inch dip, the product is cut and the prep cost is an argument.
- Assuming desert means no moisture. Slab vapor transmission is real in Henderson’s climate, even without a leak. The moisture test is a five-minute job that saves a thousand-dollar red flag.
- Going over existing tile without checking it. A tile substrate that has cracked or hollow spots is not a flat surface, and a resilient floor laid over it will telegraph every defect.
- Treating self-leveling compound as an unexpected surprise. Prep is real work and it should be on the quote. A quote with no prep line for a floor with clear dips is a quote you should question, not celebrate.
- Hiring a general contractor for a floor. A general contractor spreads their expertise across remodeling trades. Flooring is what our teams do exclusively, including carpet installation, tile, and hardwood, and the subfloor is where that expertise shows.
- Ignoring the deflection upstairs. A second floor that bounces underfoot is a structural issue the new floor won’t fix. It will crack tile and pop plank seams within a year.
- Skipping the moisture barrier to save a line item. A few hundred dollars of poly or epoxy can prevent a complete tear-out. It’s the cheapest insurance in the job.
When to Call a Professional
If you’ve done the straightedge test and found a gap bigger than 3/16 of an inch, that’s the moment to call. If you feel a bounce, hear a click underfoot, or see a gap opening at a seam in an existing floor, call. If a previous installation is curling at the edges, if tile has cracked along a seam, or if you smell moisture near a wall, call. These are not cosmetic issues. They are subfloor issues, and every one of them gets worse with time. Flooring Installation Henderson offers free estimates in Henderson. A visit can assess the subfloor condition with a straightedge and a moisture meter, and you’ll get a written price that tells you exactly what the layer below the floor needs. Call (888) 721-9818 to schedule your free estimate. We answer 24/7. Fast dispatch from 7am to 7pm, Sunday through Friday.
Frequently Asked Questions
Self-leveling compound is quoted by the square footage and the depth of the correction, and it’s a separate line item in the written estimate. It’s typically the largest variable in a flooring quote, because some rooms need a feather patch and others need a full pour. The exact cost depends on the room size and how far the substrate is out of tolerance. Call (888) 721-9818 for an exact quote. Estimates are free.
A clicking or bouncing floor, popping seams, cracks in grout following a straight line, or a slight musty smell are the most common signs the subfloor is at fault rather than the product. The quickest test is to walk across the floor in socks over the center and along the walls, and to lay a straightedge down at any suspicious spot. If the gap is bigger than 3/16 of an inch over 10 feet, the subfloor is out of tolerance. Call (888) 721-9818 for a free assessment of the existing floor.
Usually yes, but the right barrier depends on the slab’s moisture emission reading, which is tested at the estimate visit. A simple 6-mil poly barrier is often enough on a dry slab. On a slab with high vapor transmission, an epoxy moisture-mitigation coating is the safer route. There’s no one-size answer, and a blanket “we always put down poly” is a shortcut that can cost more later. Call (888) 721-9818 to schedule a moisture test.
Sometimes. It depends on whether the existing tile is well-bonded, flat within tolerance, and free of cracks and hollow spots. When the tile is sound, laying resilient plank over it can save the cost of demo. When it’s cracked or hollow, it has to come out. The right move is to test the tile before committing. Call (888) 721-9818 for a free on-site check.
The common standard most installers and product makers work to is 3/16 of an inch in 10 feet. That means if you lay a 10-foot straightedge on the floor and find a gap larger than 3/16 of an inch, the substrate is out of tolerance and needs prep. That single number drives the prep cost, and testing it yourself before getting quotes is the most useful five minutes you’ll spend on the project.
The two questions are related but separate. Refinishing depends on the amount of wood above the tongue, the finish condition, and how much surface thickness remains, which is checked at the estimate visit. The subfloor underneath affects whether the floor has moved, cracked, or cupped, which can make a refinish risky. Our team can assess both before recommending a direction. Call (888) 721-9818 for a free estimate.
The Bottom Line
The visible layer of a floor gets all the attention. The layer underneath decides whether that floor survives its first year in a Henderson home. Three subfloor types show up here: concrete slab, OSB over joist, and existing tile used as substrate. The three things you need to check before you buy flooring are flatness (the 3/16-inch-over-10-feet standard), moisture (whether the slab needs a poly barrier or epoxy mitigation), and whether the subfloor is structurally sound. Self-leveling compound is a real, quoted line item. The estimate that names it is the estimate that’s honest. A straightedge and a moisture meter during the estimate visit can tell you what your current floor’s condition tells you, and the written price that follows is the only price that matters. Call (888) 721-9818 to schedule your free estimate.
Written by the team at Flooring Installation Henderson.